
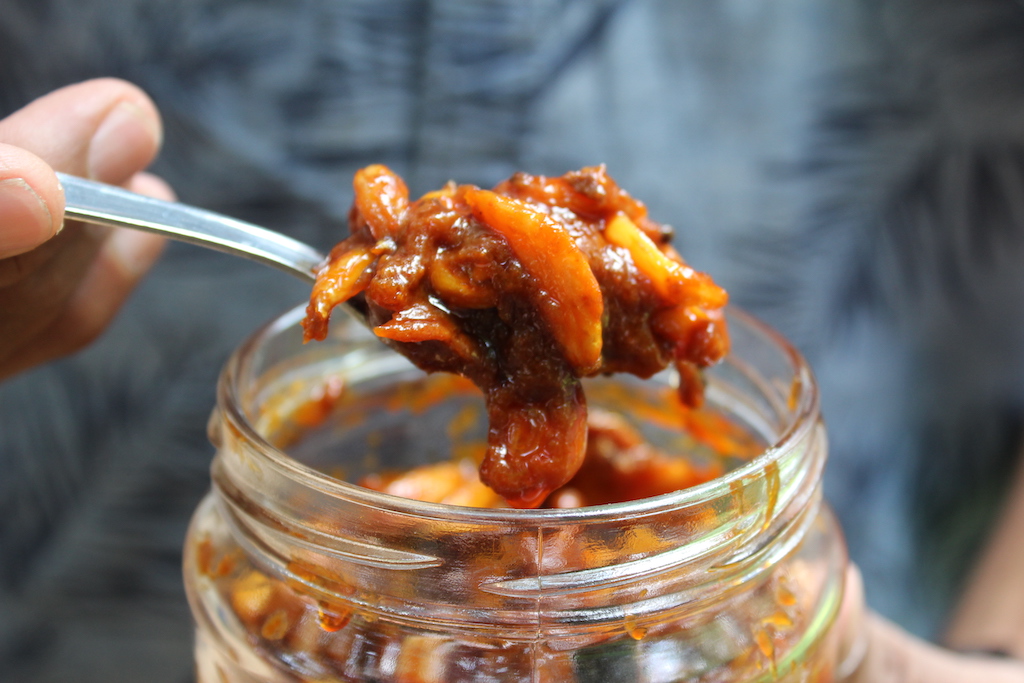
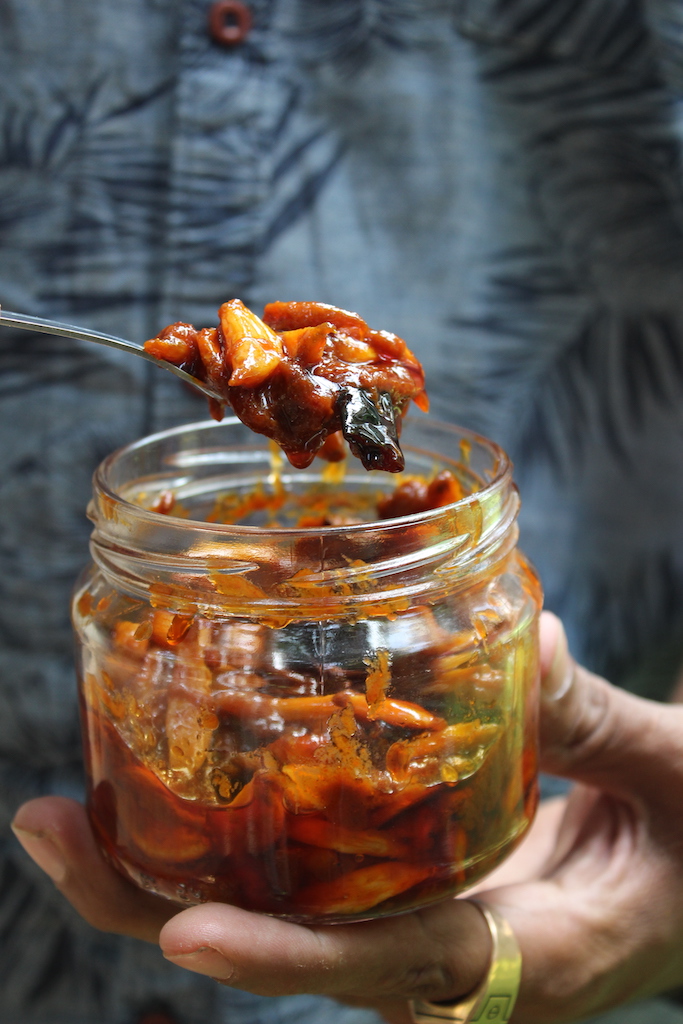
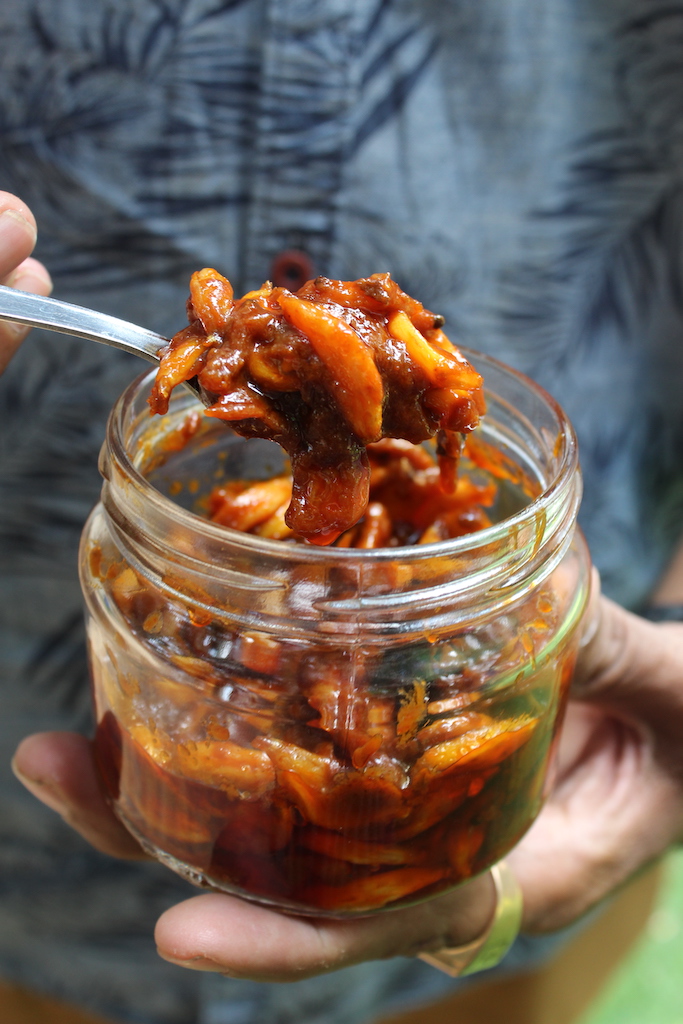
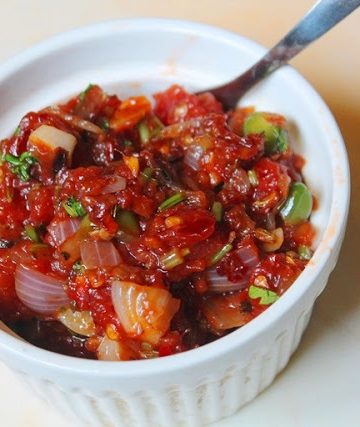
Garlic Pickle Recipe with step by step pictures. Spicy and tangy poondu oorugai recipe which taste so delicious with curd rice.
Garlic Pickle Recipe
I love garlic pickle, it is one of my favourite pickle. I like to have it with paratha, curd rice or even sambar rice.
About Garlic Pickle Recipe
Garlic Pickle or Poondu Oorugai is a popular pickle condiments across India. Garlic pickle is made spicy and little tangy. There are many versions of making garlic pickle. Some people add lemon juice or vinegar in their pickle too.
Roasted and ground spices like fenugreek seeds, mustard seeds are used for aroma and taste. This version is a instant version which is made with basic tempering and spice powders.
Similar Recipes,
Ingredients for Making Garlic Pickle
- Gingelly oil (Indian Sesame Oil)
- Garlic
- Turmeric Powder
- Kashmiri Chilli Powder
- Tamarind Pulp
- Water
- Jaggery
- Rock Salt
For Tempering
- Mustard Seeds
- Cumin Seed
- Fenugreek Seeds
- Dry Red Chillies
- Asafoetida
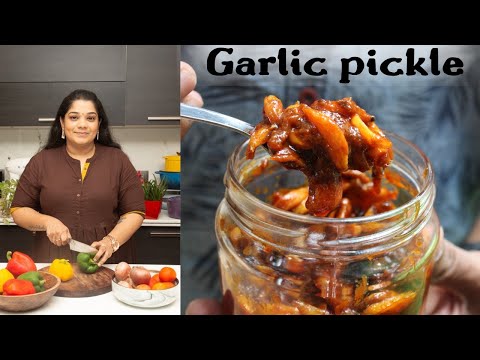
Video for Garlic Pickle Recipe
How to Make Poondu Oorugai (Garlic Pickle Recipe)
Pre-preparations
Peel garlic and set aside. I like to use small size garlic for this recipe. If you are using tamarind pulp, mix with water and set aside.
Frying Garlic
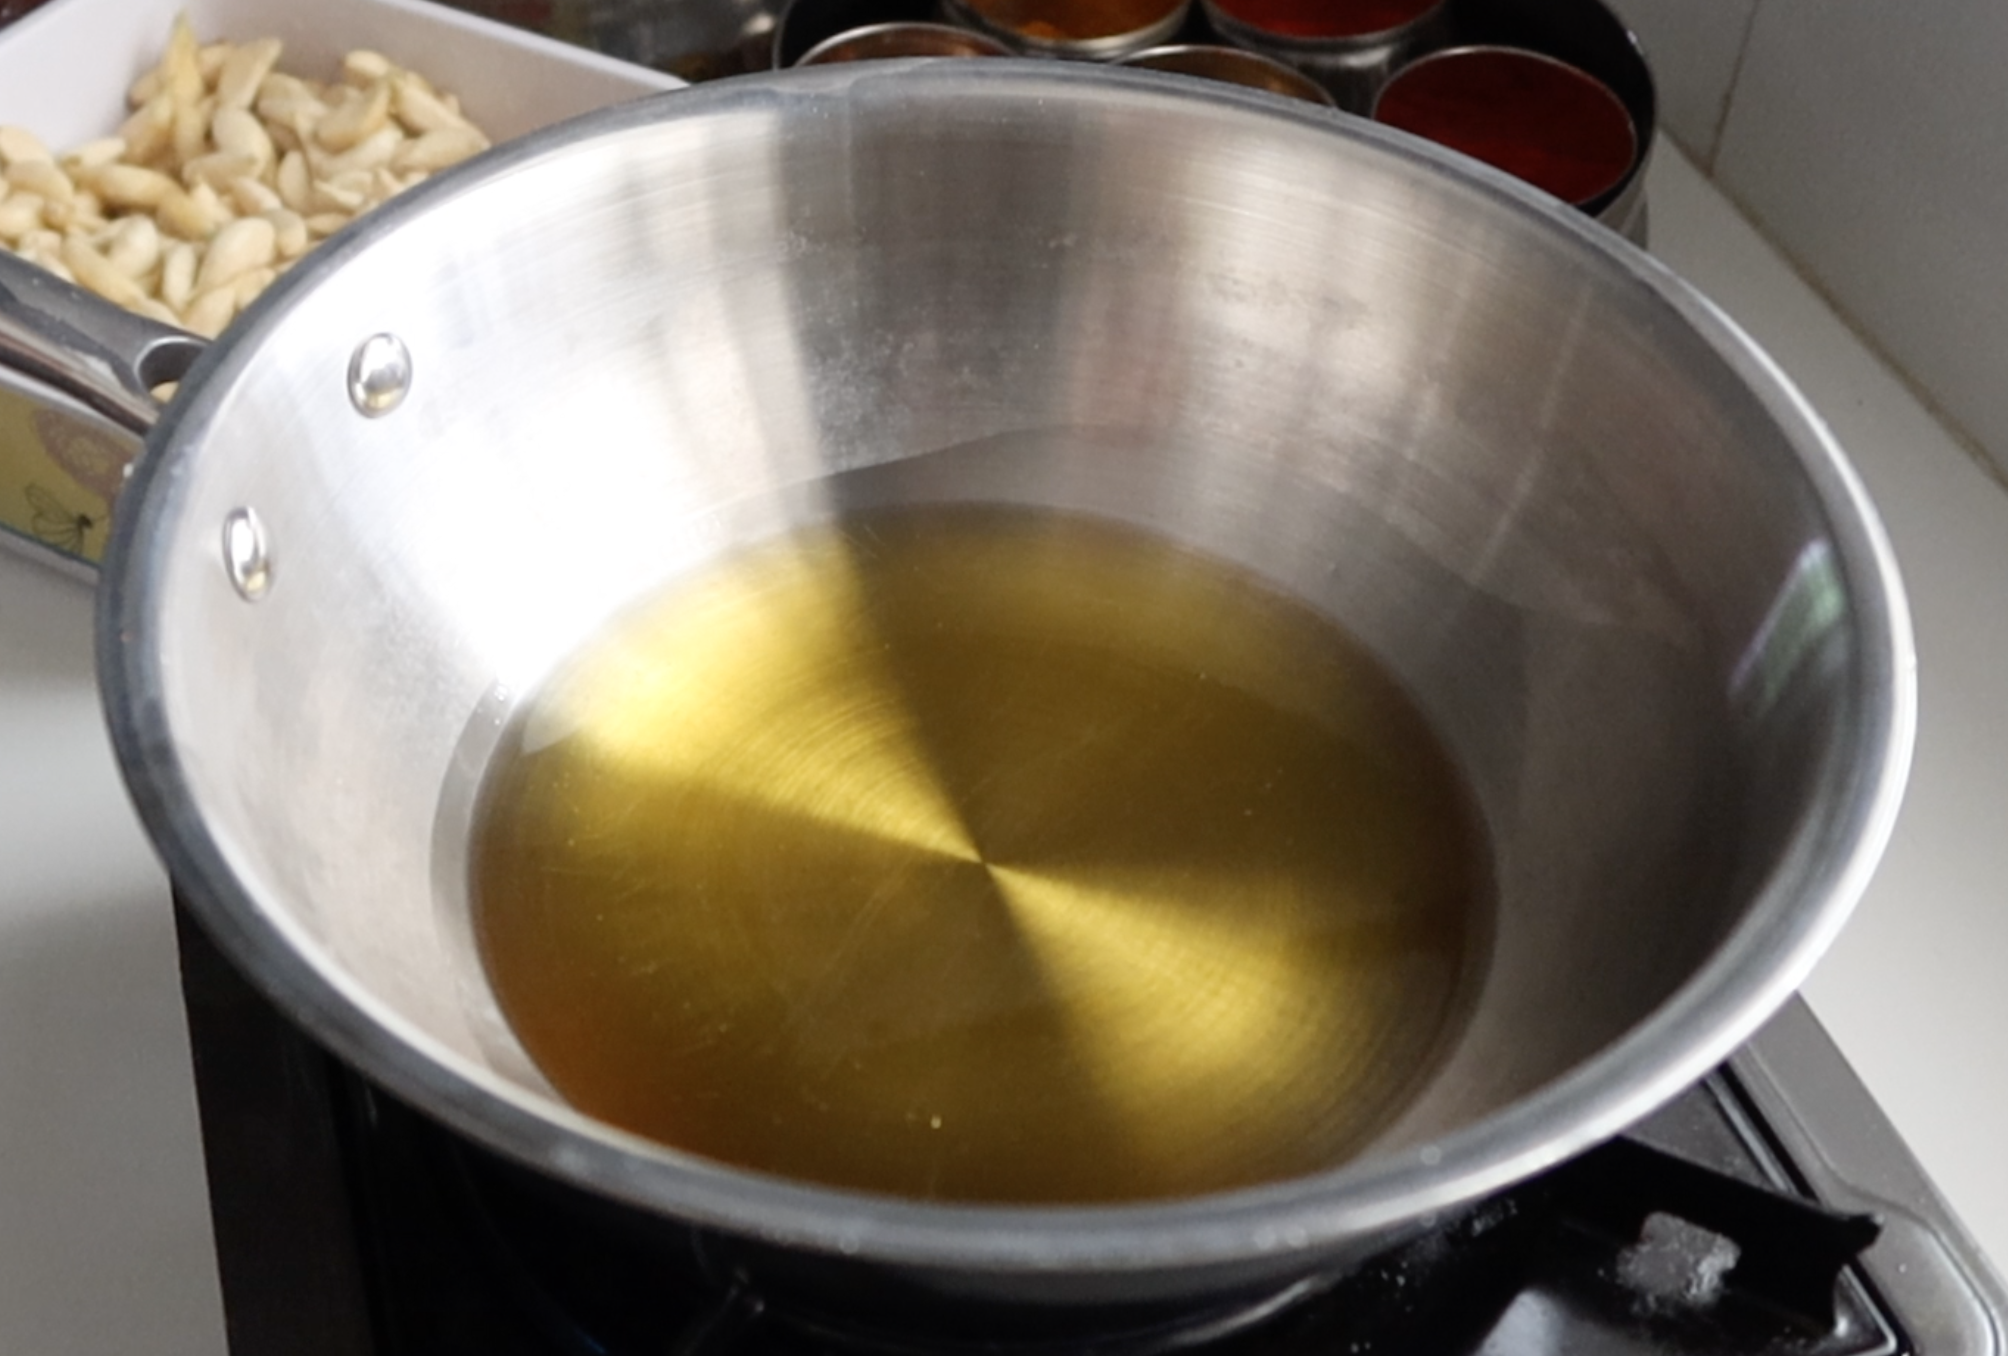
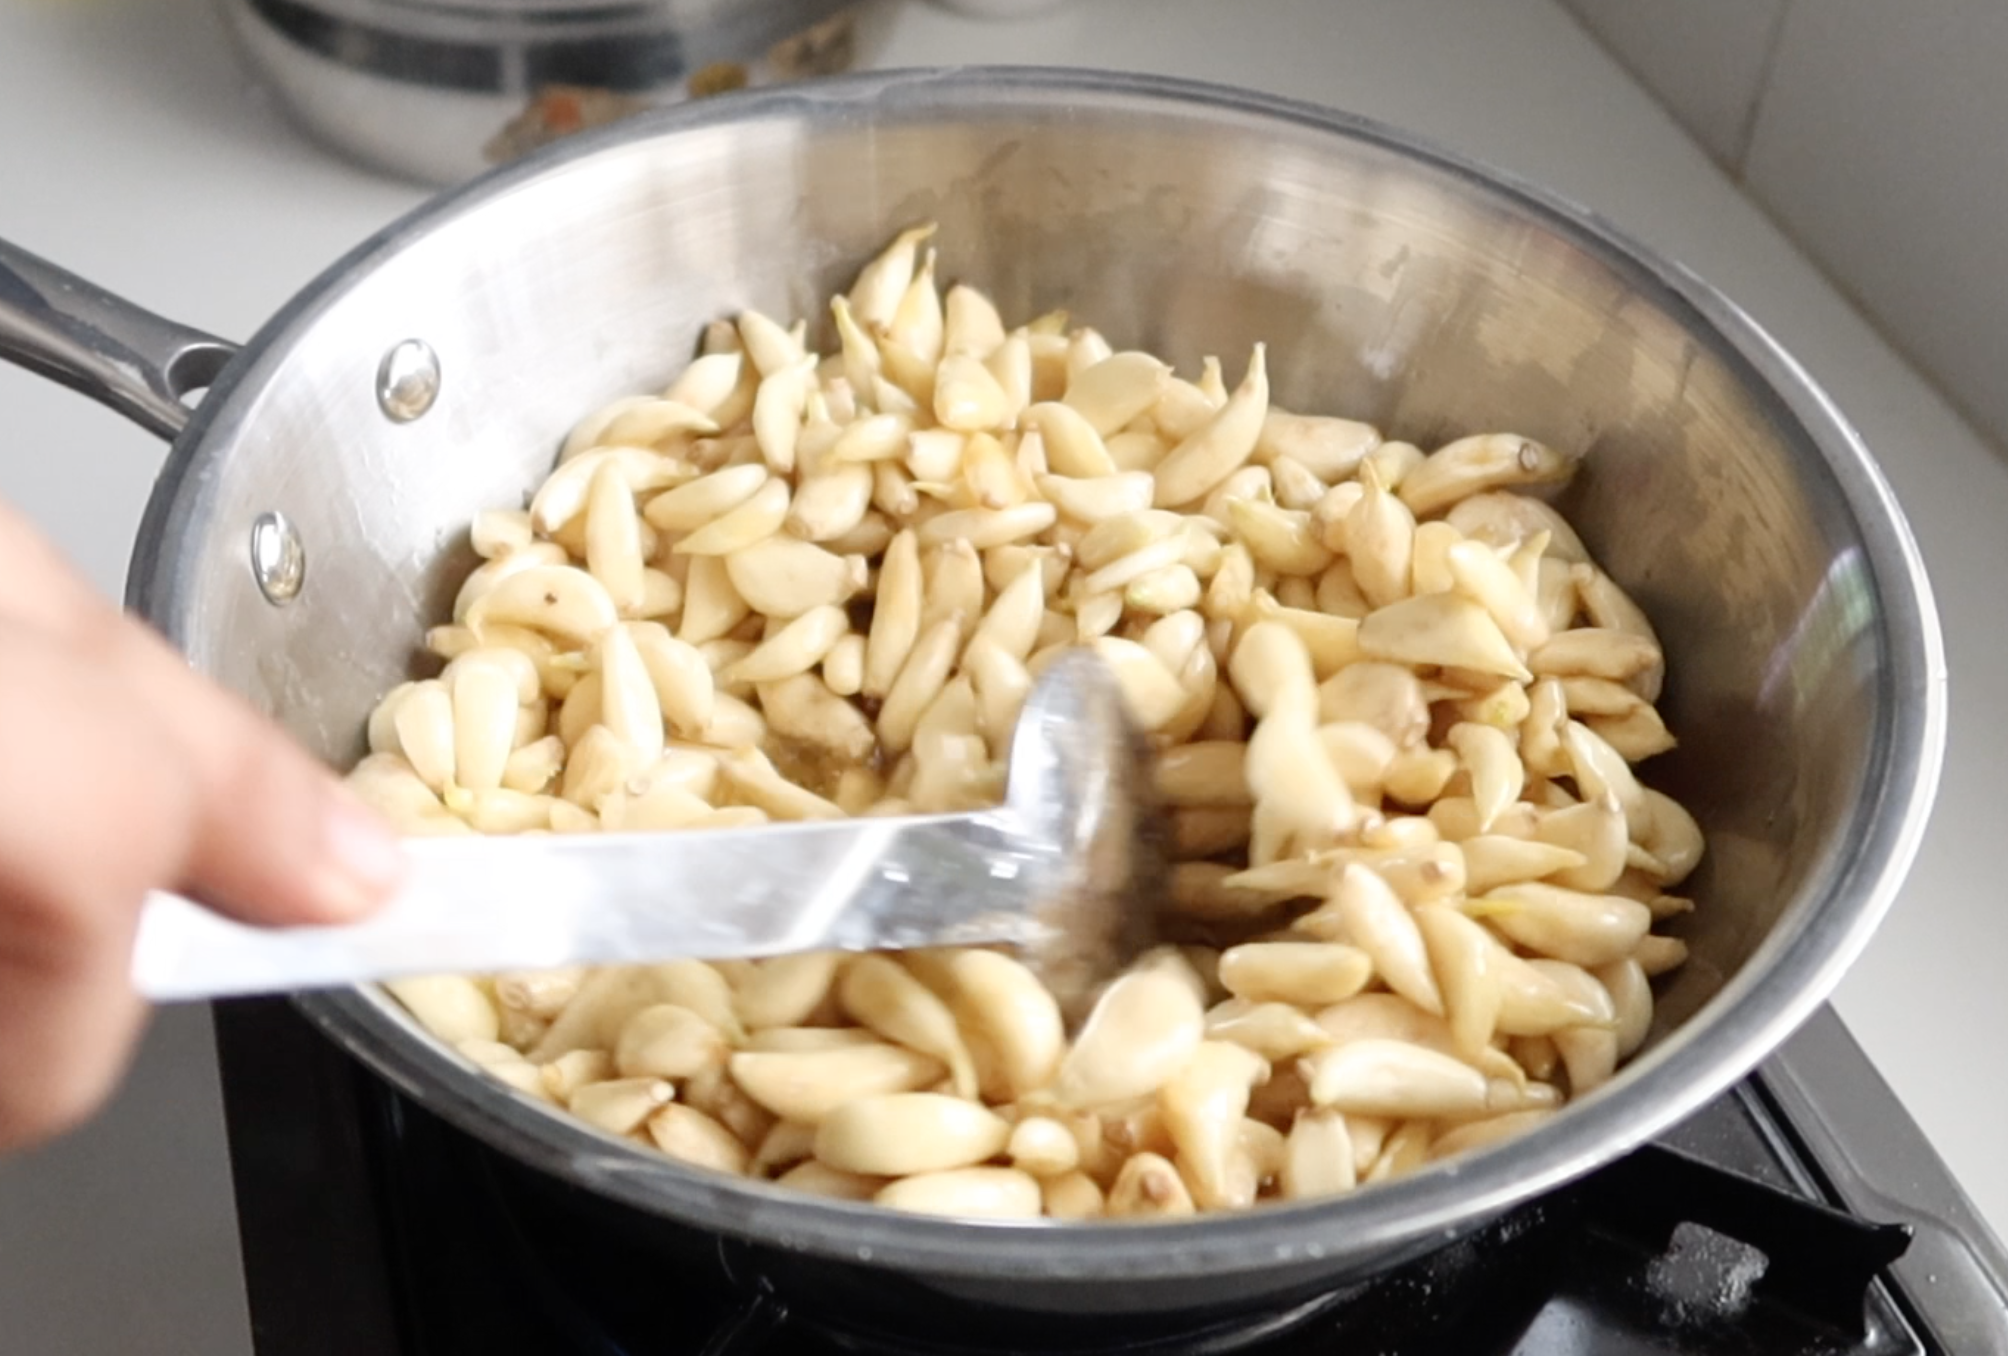
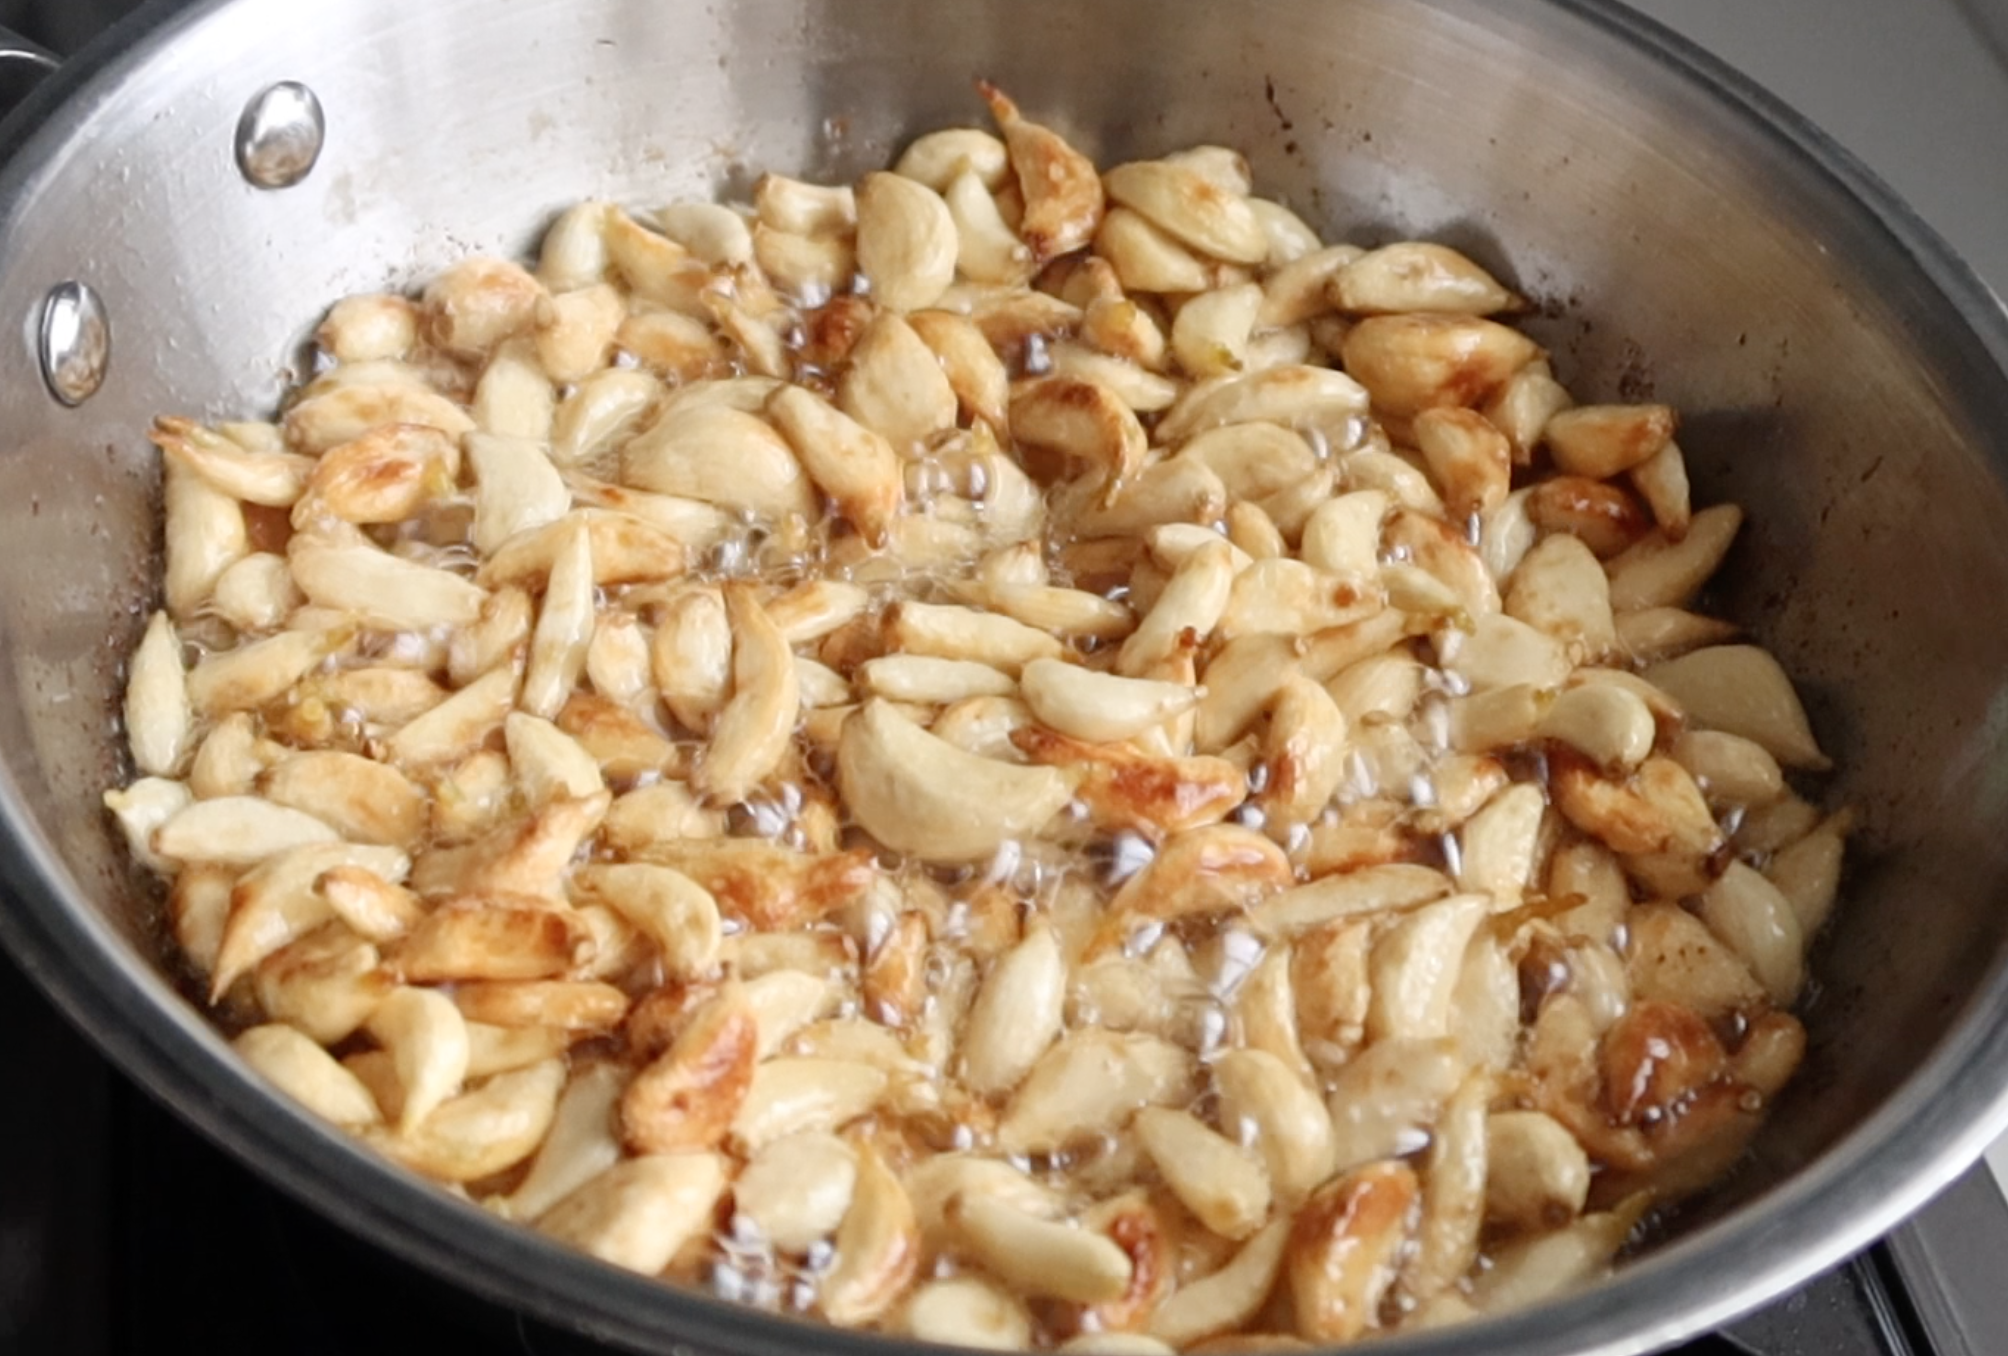
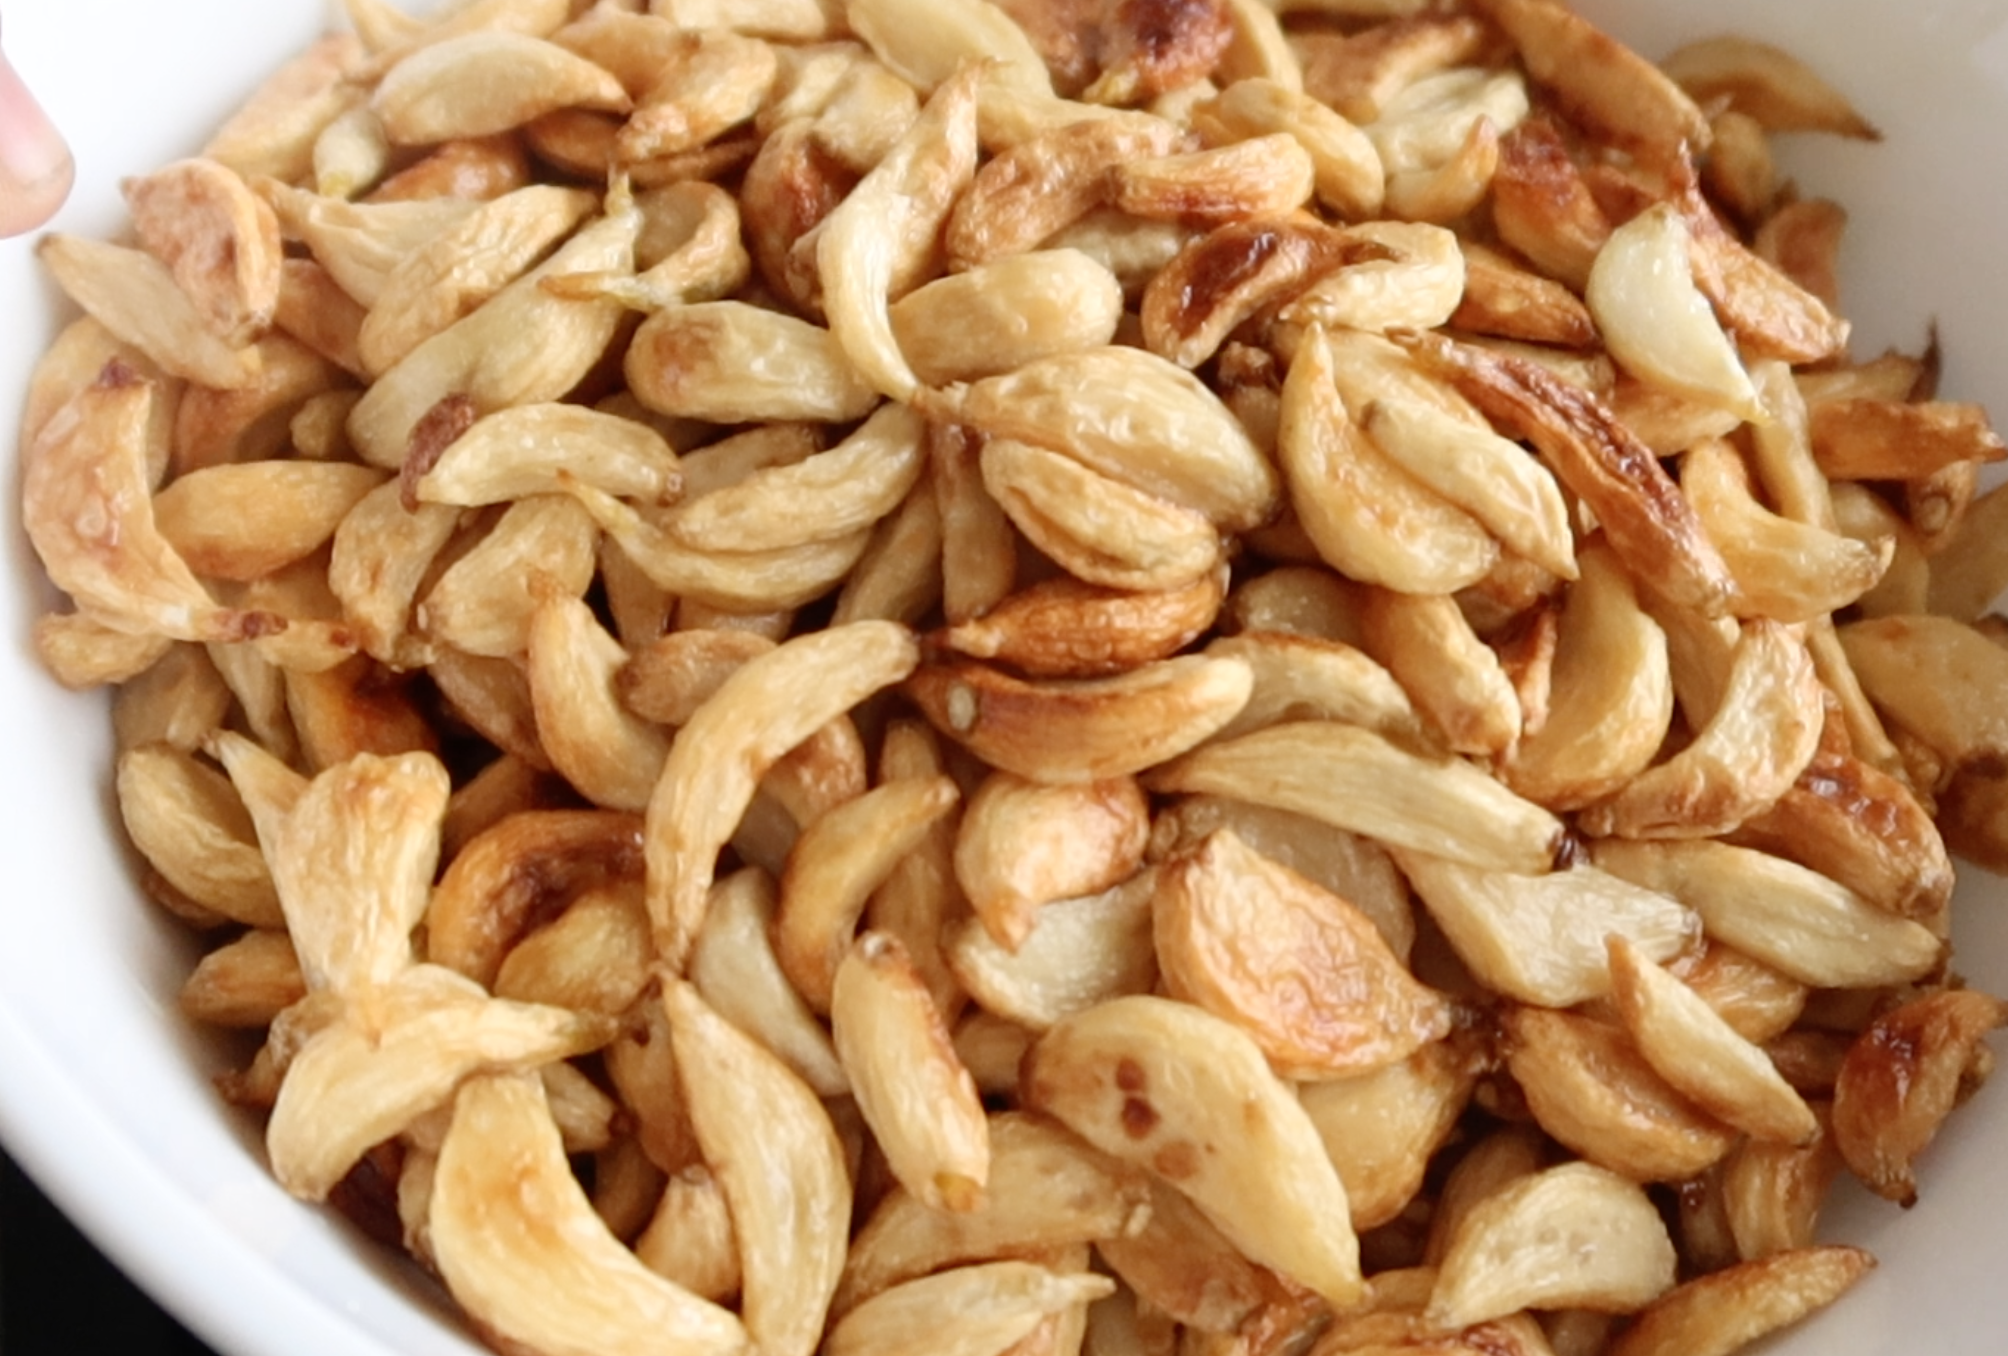
Heat gingelly oil in a pan. Add in garlic and mix well. Cook on medium heat till it gets golden and fried. You can cover the pan to speed up the process. Keep mixing occasionally for even colouring. The garlic has to turn golden brown. Once the garlic is fried, strain and remove it to a bowl and set aside.
Making Garlic Pickle
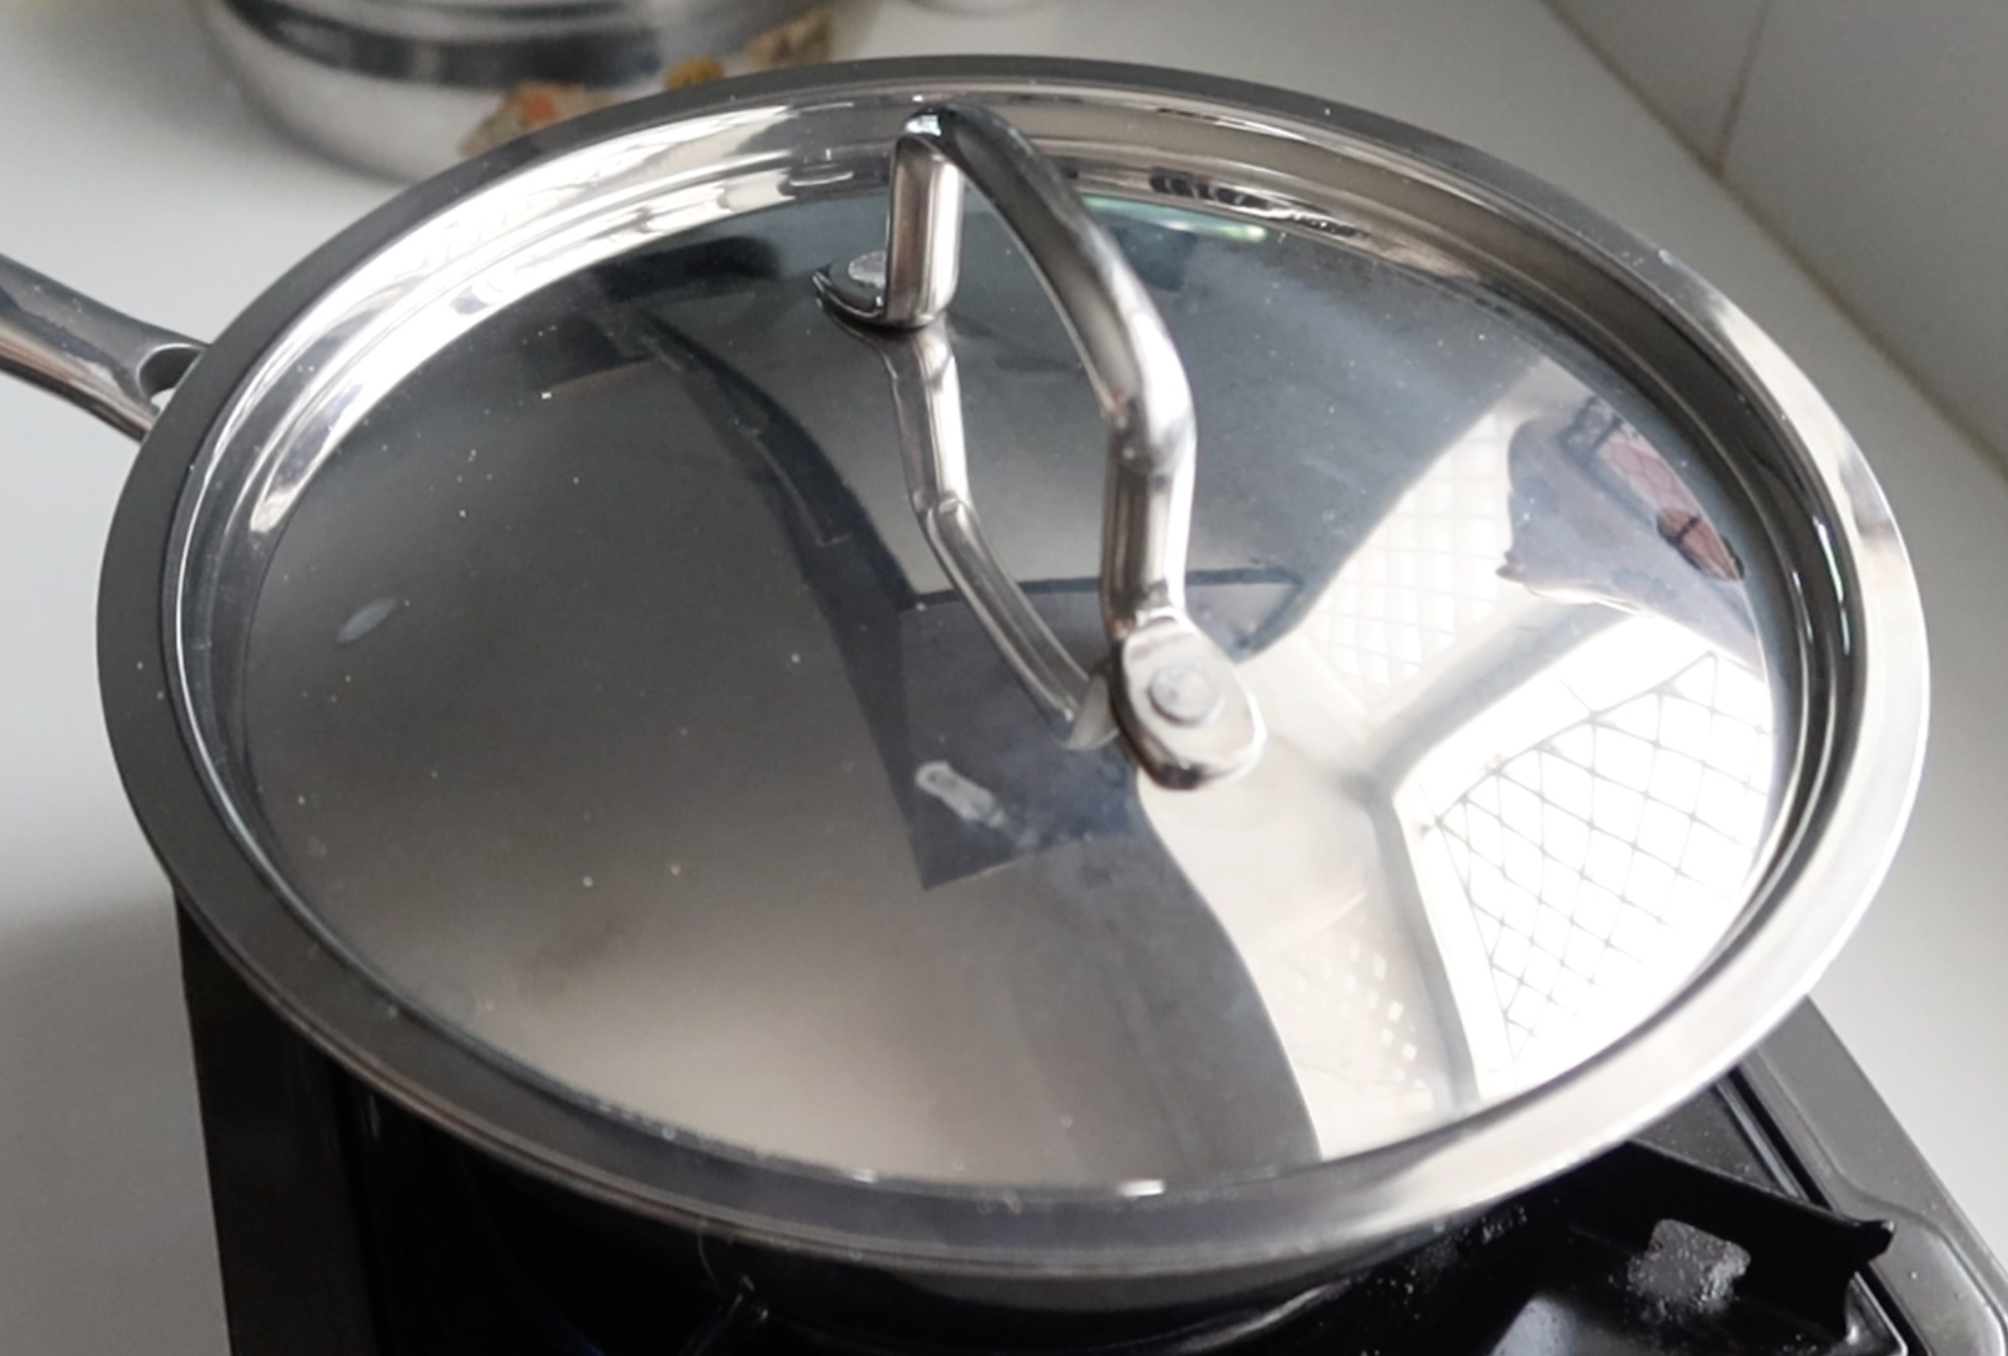
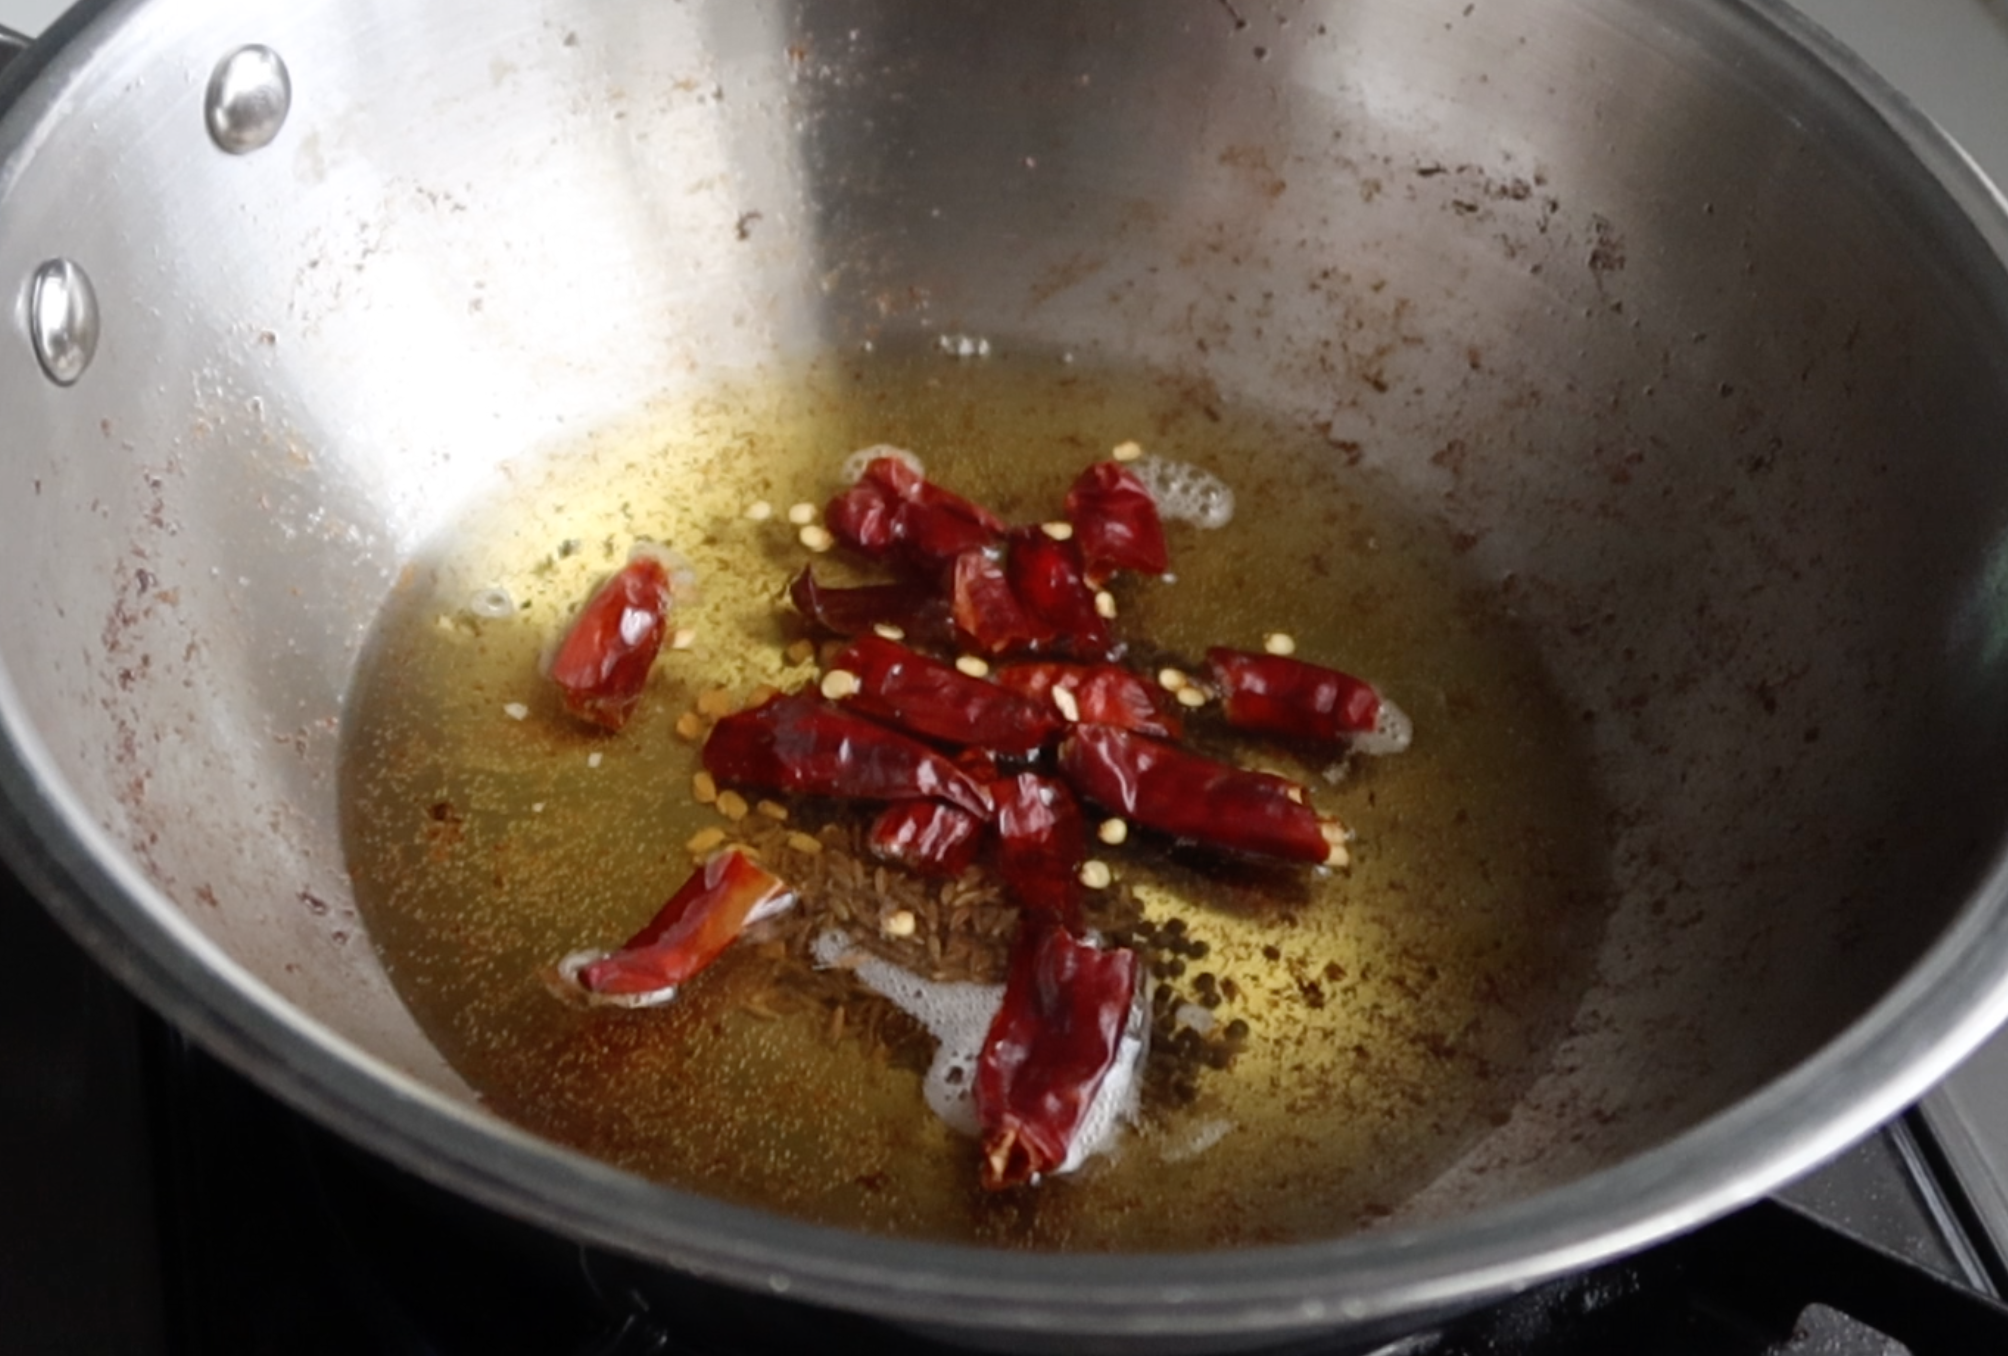
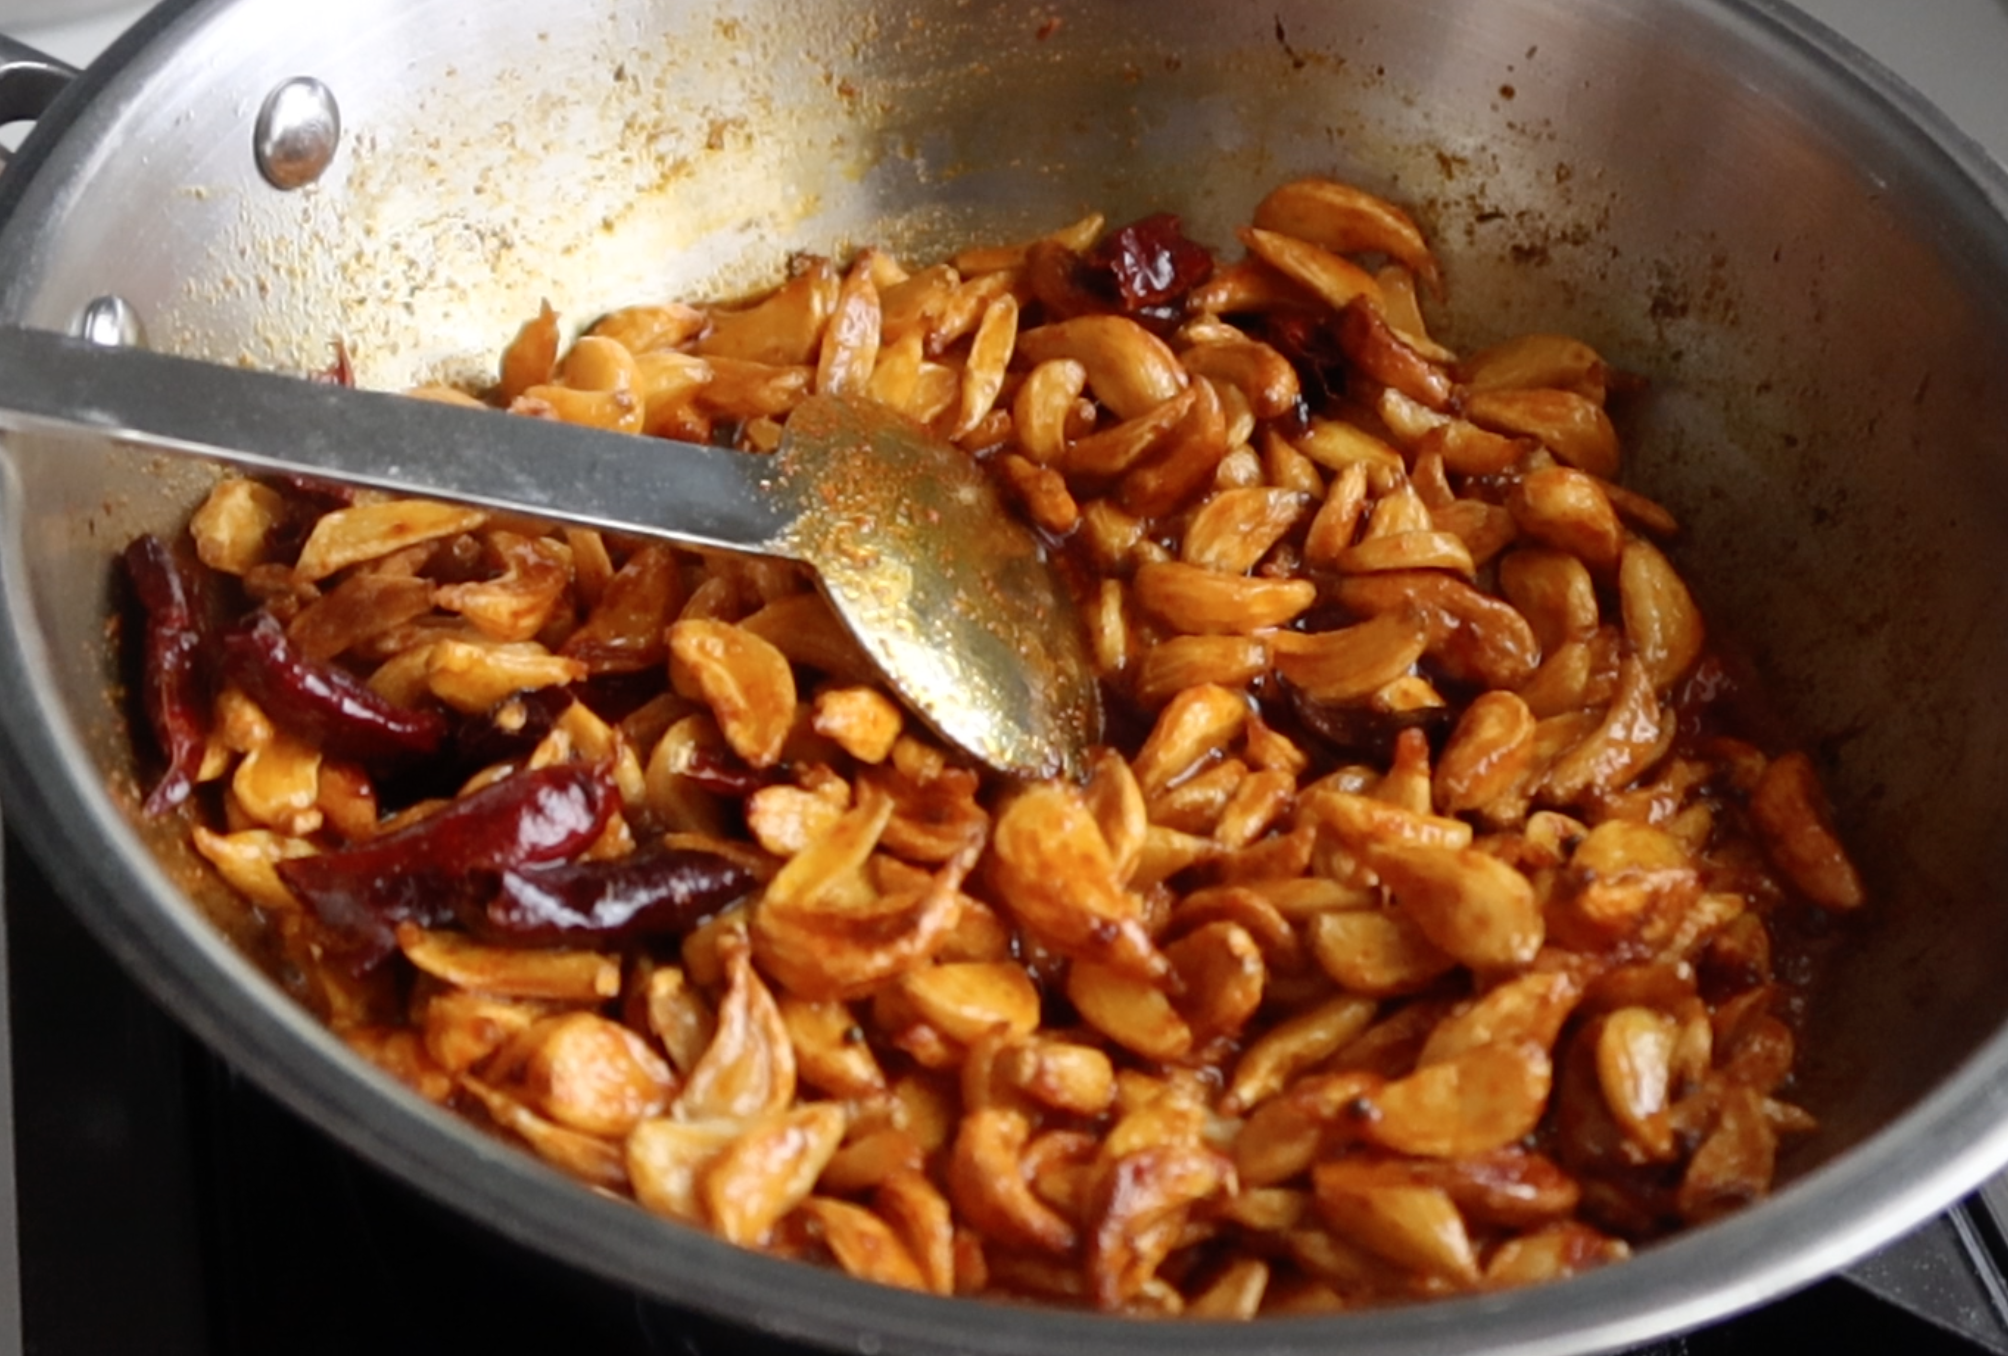
In the same oil, add in tempering ingredients and let them sizzle. Add in turmeric powder and chilli powder and mix well. Do this on low heat. Don't cook the spice powder over 10 seconds else it may burn. Add in the fried garlic and mix well. Add in the tamarind pulp, salt and mix well. Cover and cook this on low heat for at least 5 mins.
Finishing touches for Pickle
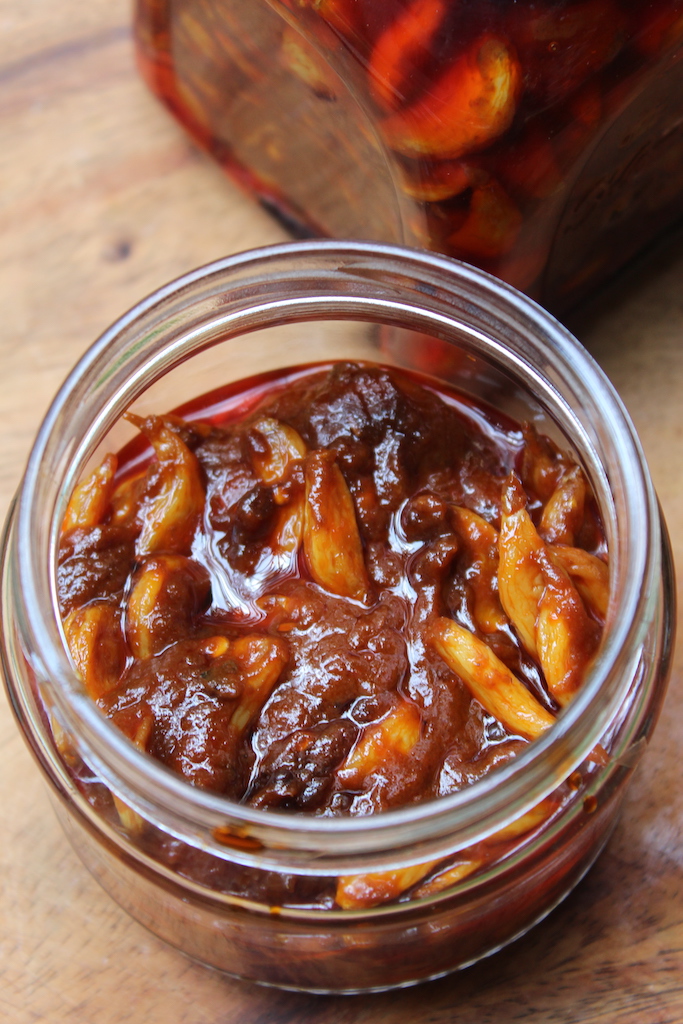
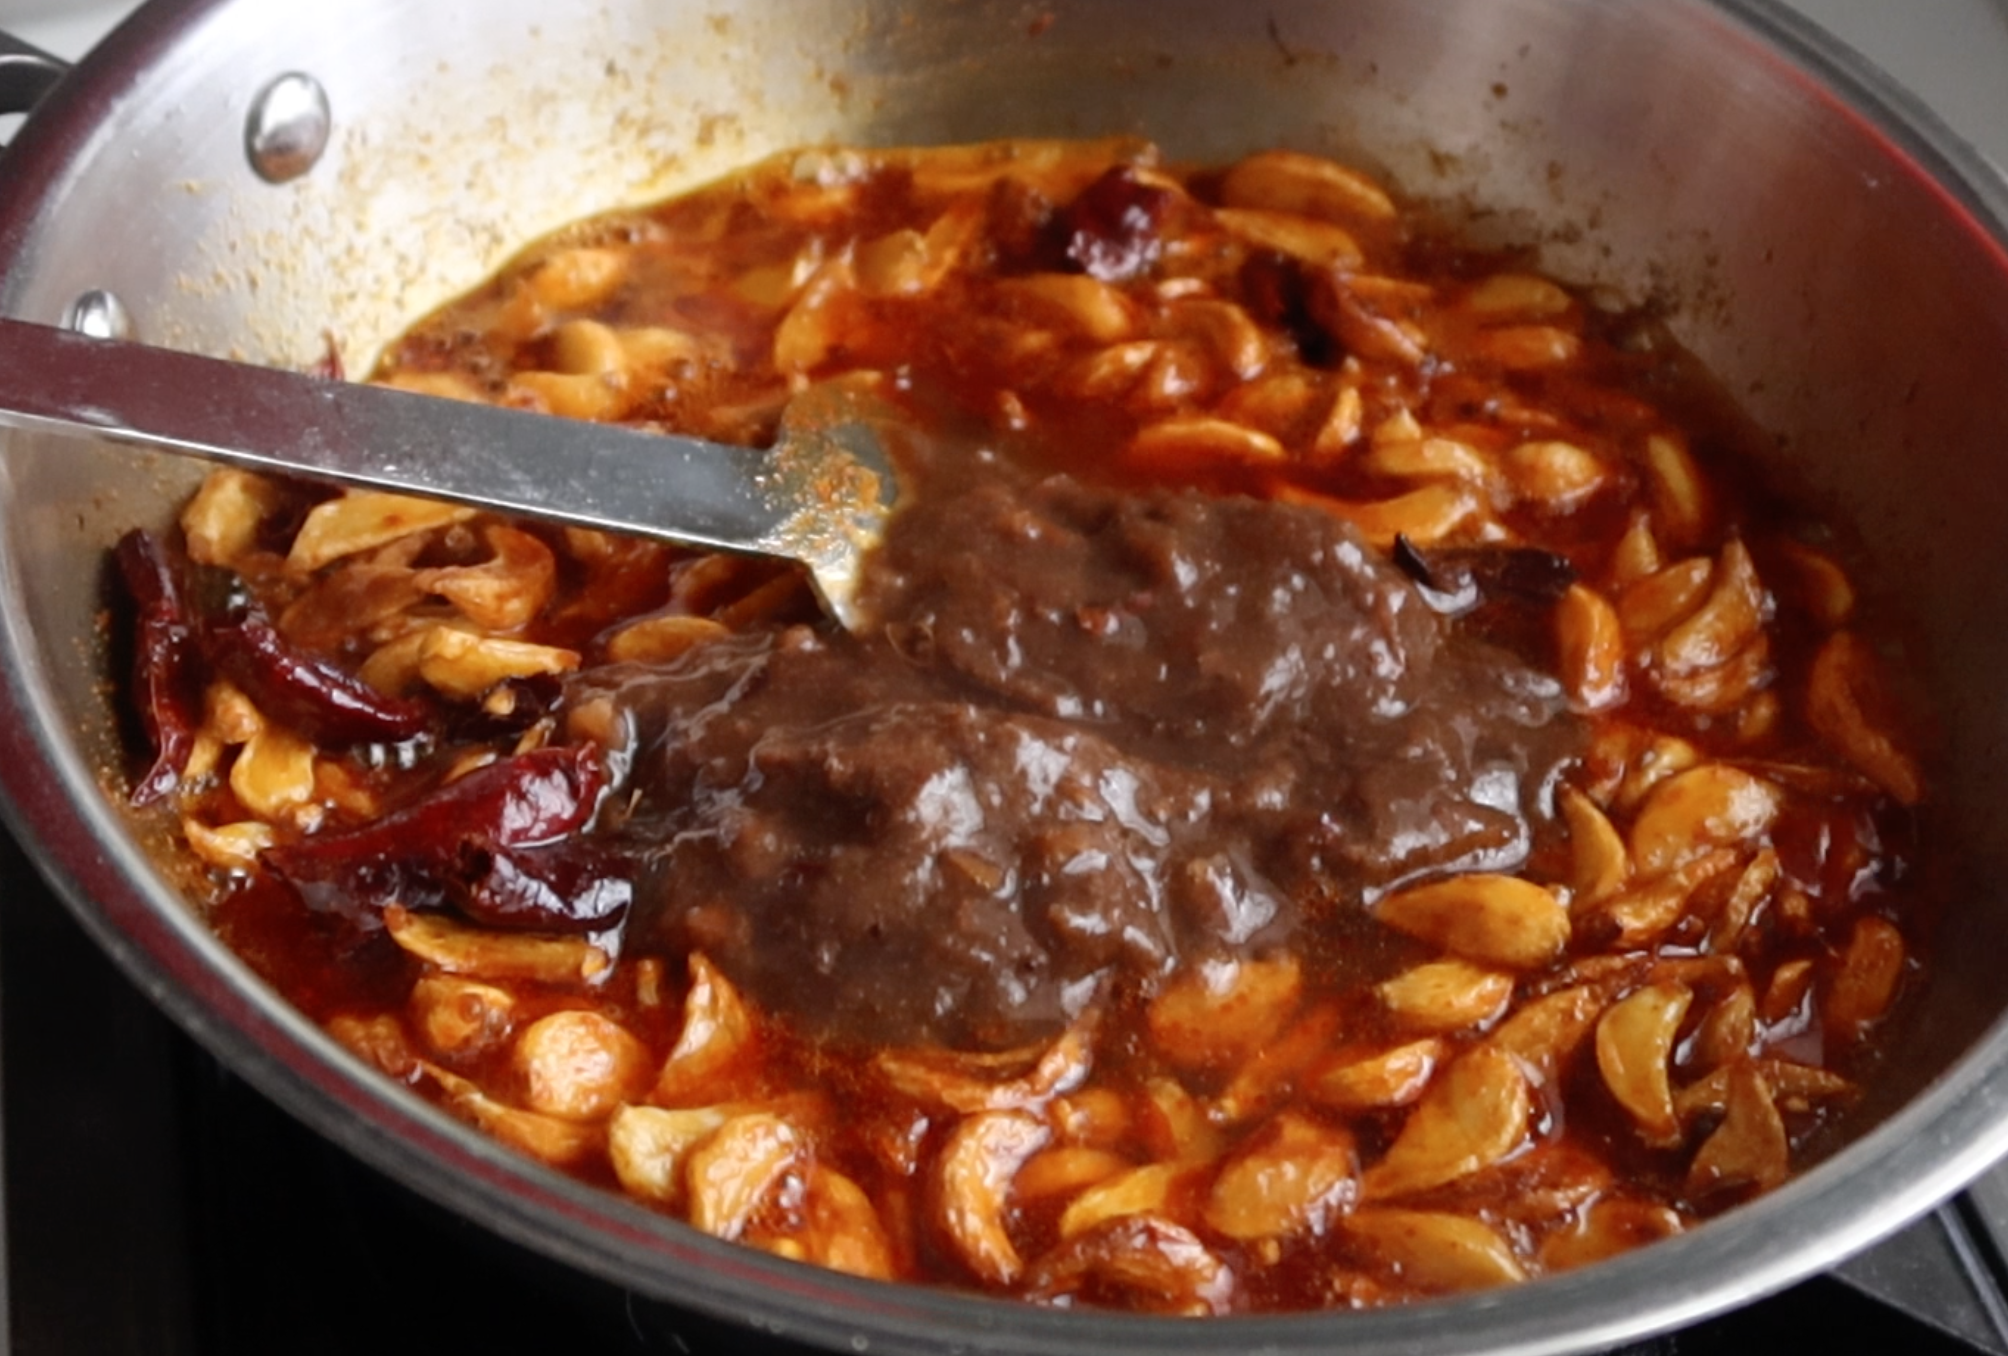
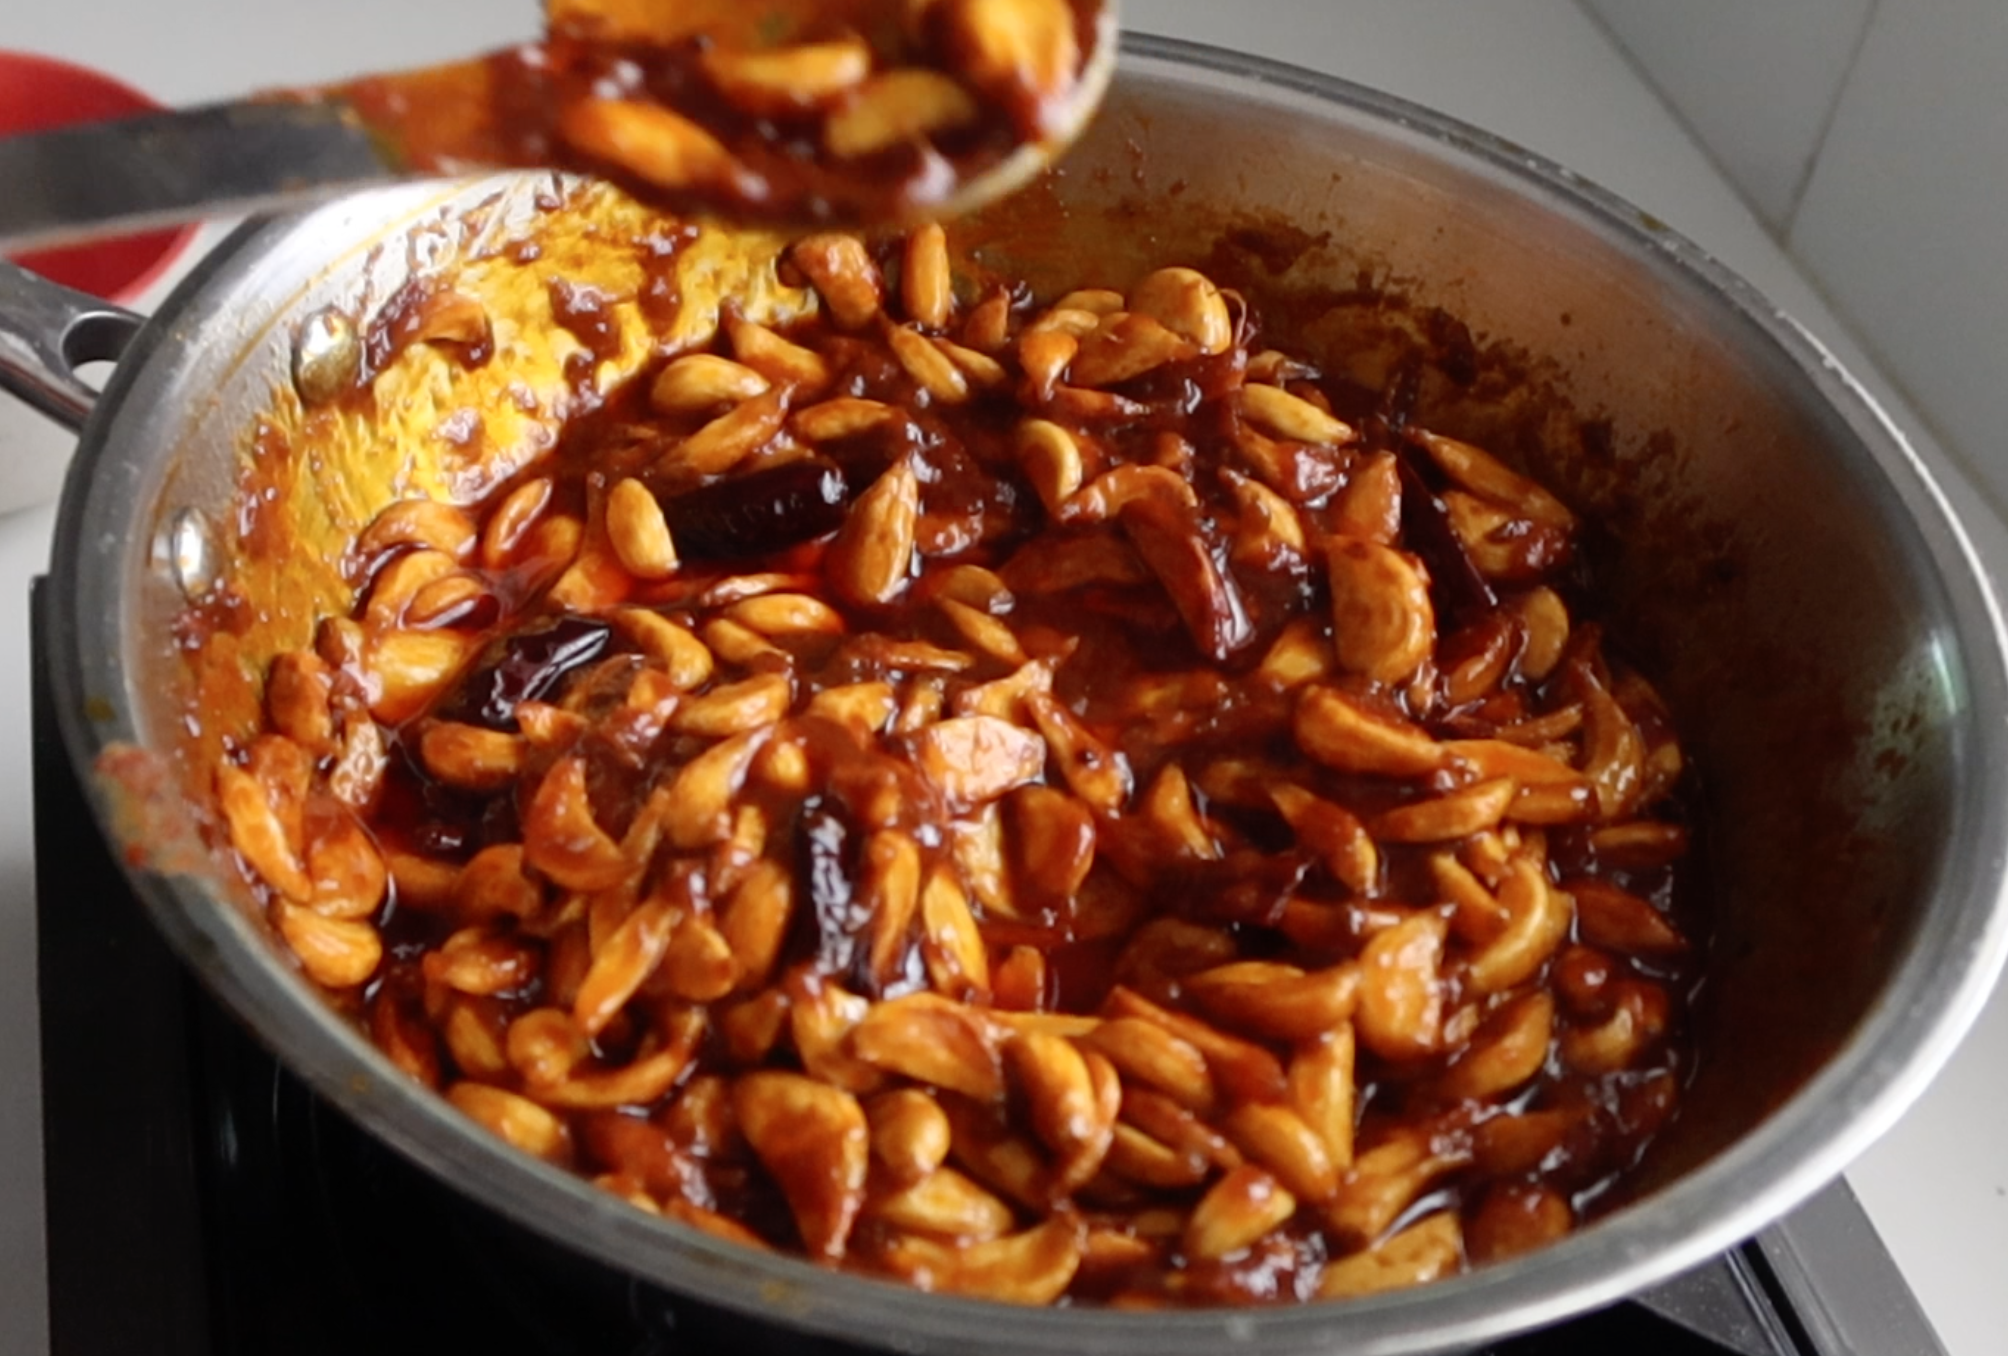
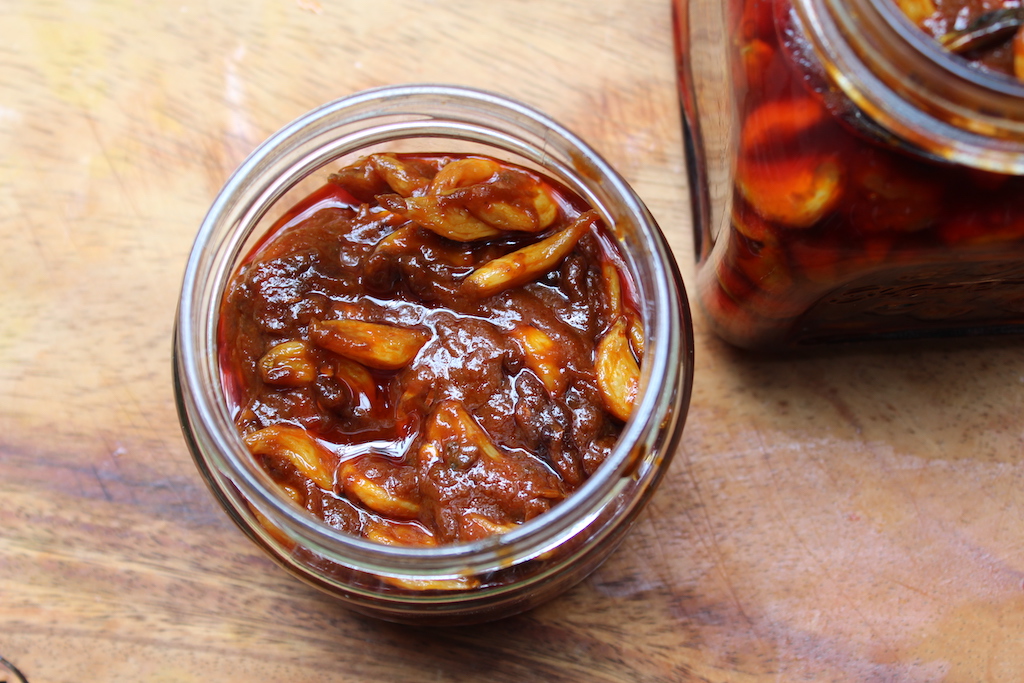
Now add in jaggery and mix well. Keep cooking for another 5 mins covered on low heat. After 5 mins the oil must float on top and the garlic must have cooked and pickle got thick.
Storing
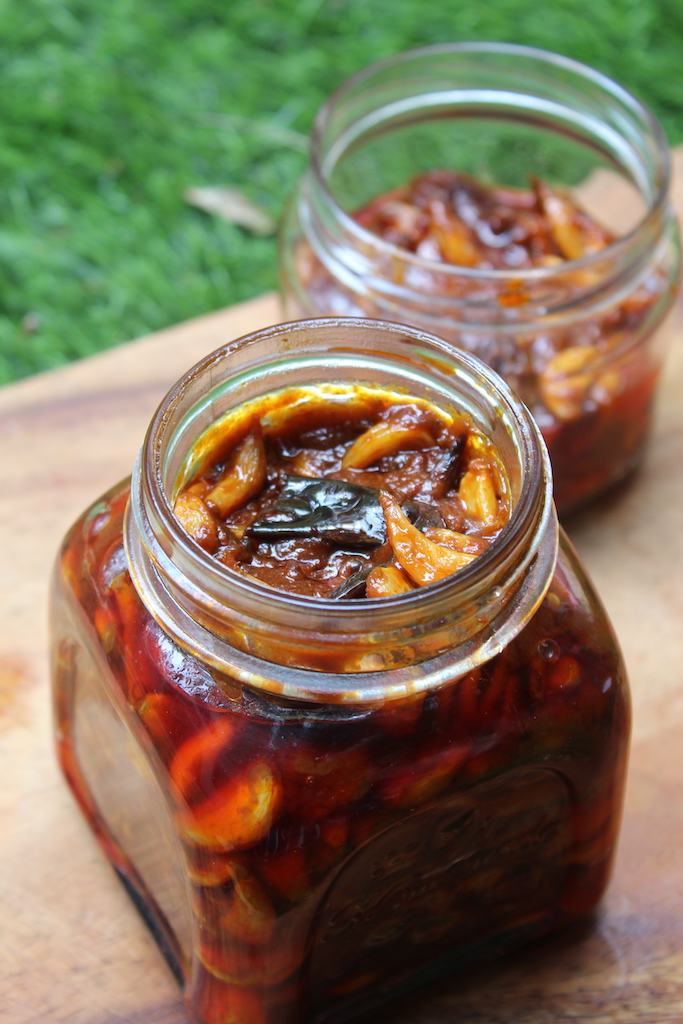
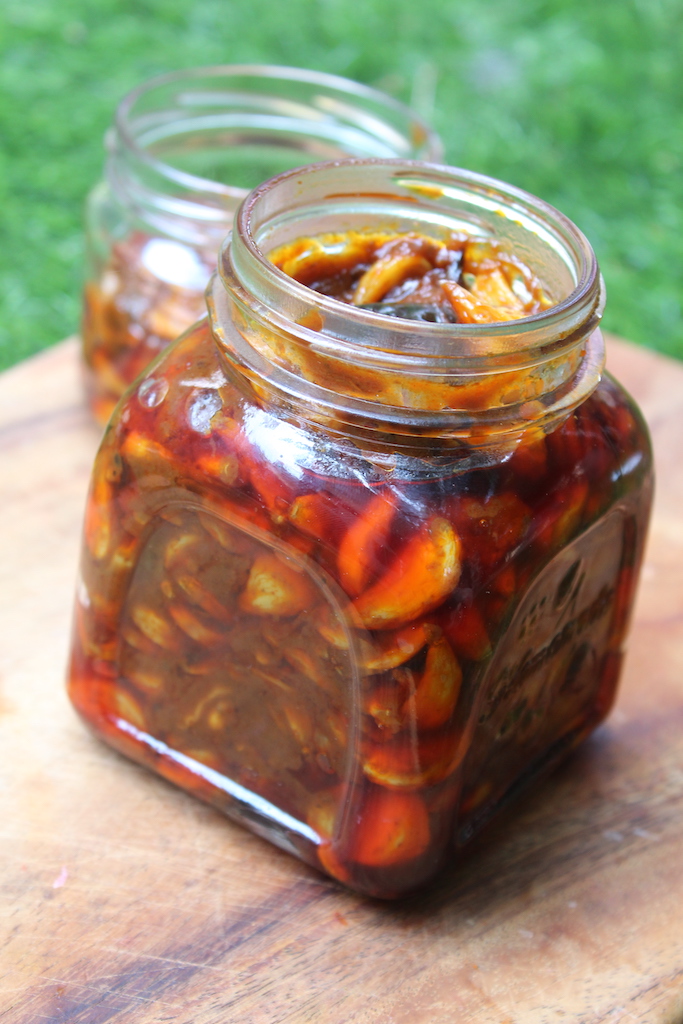
Let the pickle cool completely before storing in a clean glass jar in fridge.
If you have any questions not covered in this post and if you need help, leave me a comment or mail me @aarthi198689@gmail.com and I'll help as soon as I can.
Follow me on Instagram, Facebook,Pinterest ,Youtube and Twitter for more Yummy Tummy inspiration.
IF YOU MAKE THIS RECIPE OR ANYTHING FROM YUMMY TUMMY, MAKE SURE TO POST IT AND TAG ME SO I CAN SEE ALL OF YOUR CREATIONS!! #YUMMYTUMMYAARTHI AND @YUMMYTUMMYAARTHI ON INSTAGRAM!
📖 Get Recipe
Garlic Pickle | Garlic Pickle Recipe | Poondu Oorugai Recipe
Ingredients
- 1 cup Gingelly oil Indian Sesame Oil
- 5 cups Garlic
- 1 teaspoon Turmeric Powder
- ½ cup Kashmiri Chilli Powder
- 5 tablespoon Tamarind Pulp
- ½ cup Water
- ¼ cup Jaggery
- Rock Salt to taste
For Tempering
- 2 teaspoon Mustard Seeds
- 2 teaspoon Cumin Seed
- ½ teaspoon Fenugreek Seeds
- 6 Dry Red Chillies
- ½ teaspoon Asafoetida
Instructions
- Peel garlic and set aside. I like to use small size garlic for this recipe. If you are using tamarind pulp, mix with water and set aside.
- Heat gingelly oil in a pan. Add in garlic and mix well. Cook on medium heat till it gets golden and fried. You can cover the pan to speed up the process. Keep mixing occasionally for even colouring. The garlic has to turn golden brown. Once the garlic is fried, strain and remove it to a bowl and set aside.
- In the same oil, add in tempering ingredients and let them sizzle. Add in turmeric powder and chilli powder and mix well. Do this on low heat. Don't cook the spice powder over 10 seconds else it may burn.
- Add in the fried garlic and mix well. Add in the tamarind pulp, salt and mix well. Cover and cook this on low heat for at least 5 mins.
- Now add in jaggery and mix well. Keep cooking for another 5 mins covered on low heat. After 5 mins the oil must float on top and the garlic must have cooked and pickle got thick.
- Let the pickle cool completely before storing in a clean glass jar in fridge.
Video
Notes
- Use small variety of garlic for this pickle.
- Use gingelly oil in this pickle for best flavour.
- Cook the pickle on low heat till it gets thick and oil separates.
- The jar in which you are storing the garlic pickle has to be dry without any water which will extend the shelf life.
- Always use dry spoon when taking pickle out, no wet spoons or hands should be used
Storage Suggestions
This pickle can be stored at room temp for 3 to 5 days. Store in fridge for 15 to 20 days.Serving Suggestions
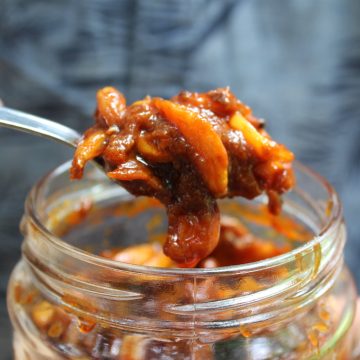
Garlic pickle can be served with rice, curd rice, paratha.Nutrition
Tried this Recipe
Mention @yummytummyaarthi or tag #yummytummyaarthi!Garlic Pickle Recipe with Step by Step pictures
1)Heat gingelly oil in a pan.
2)Add in garlic and mix well. Cook on medium heat till it gets golden and fried.
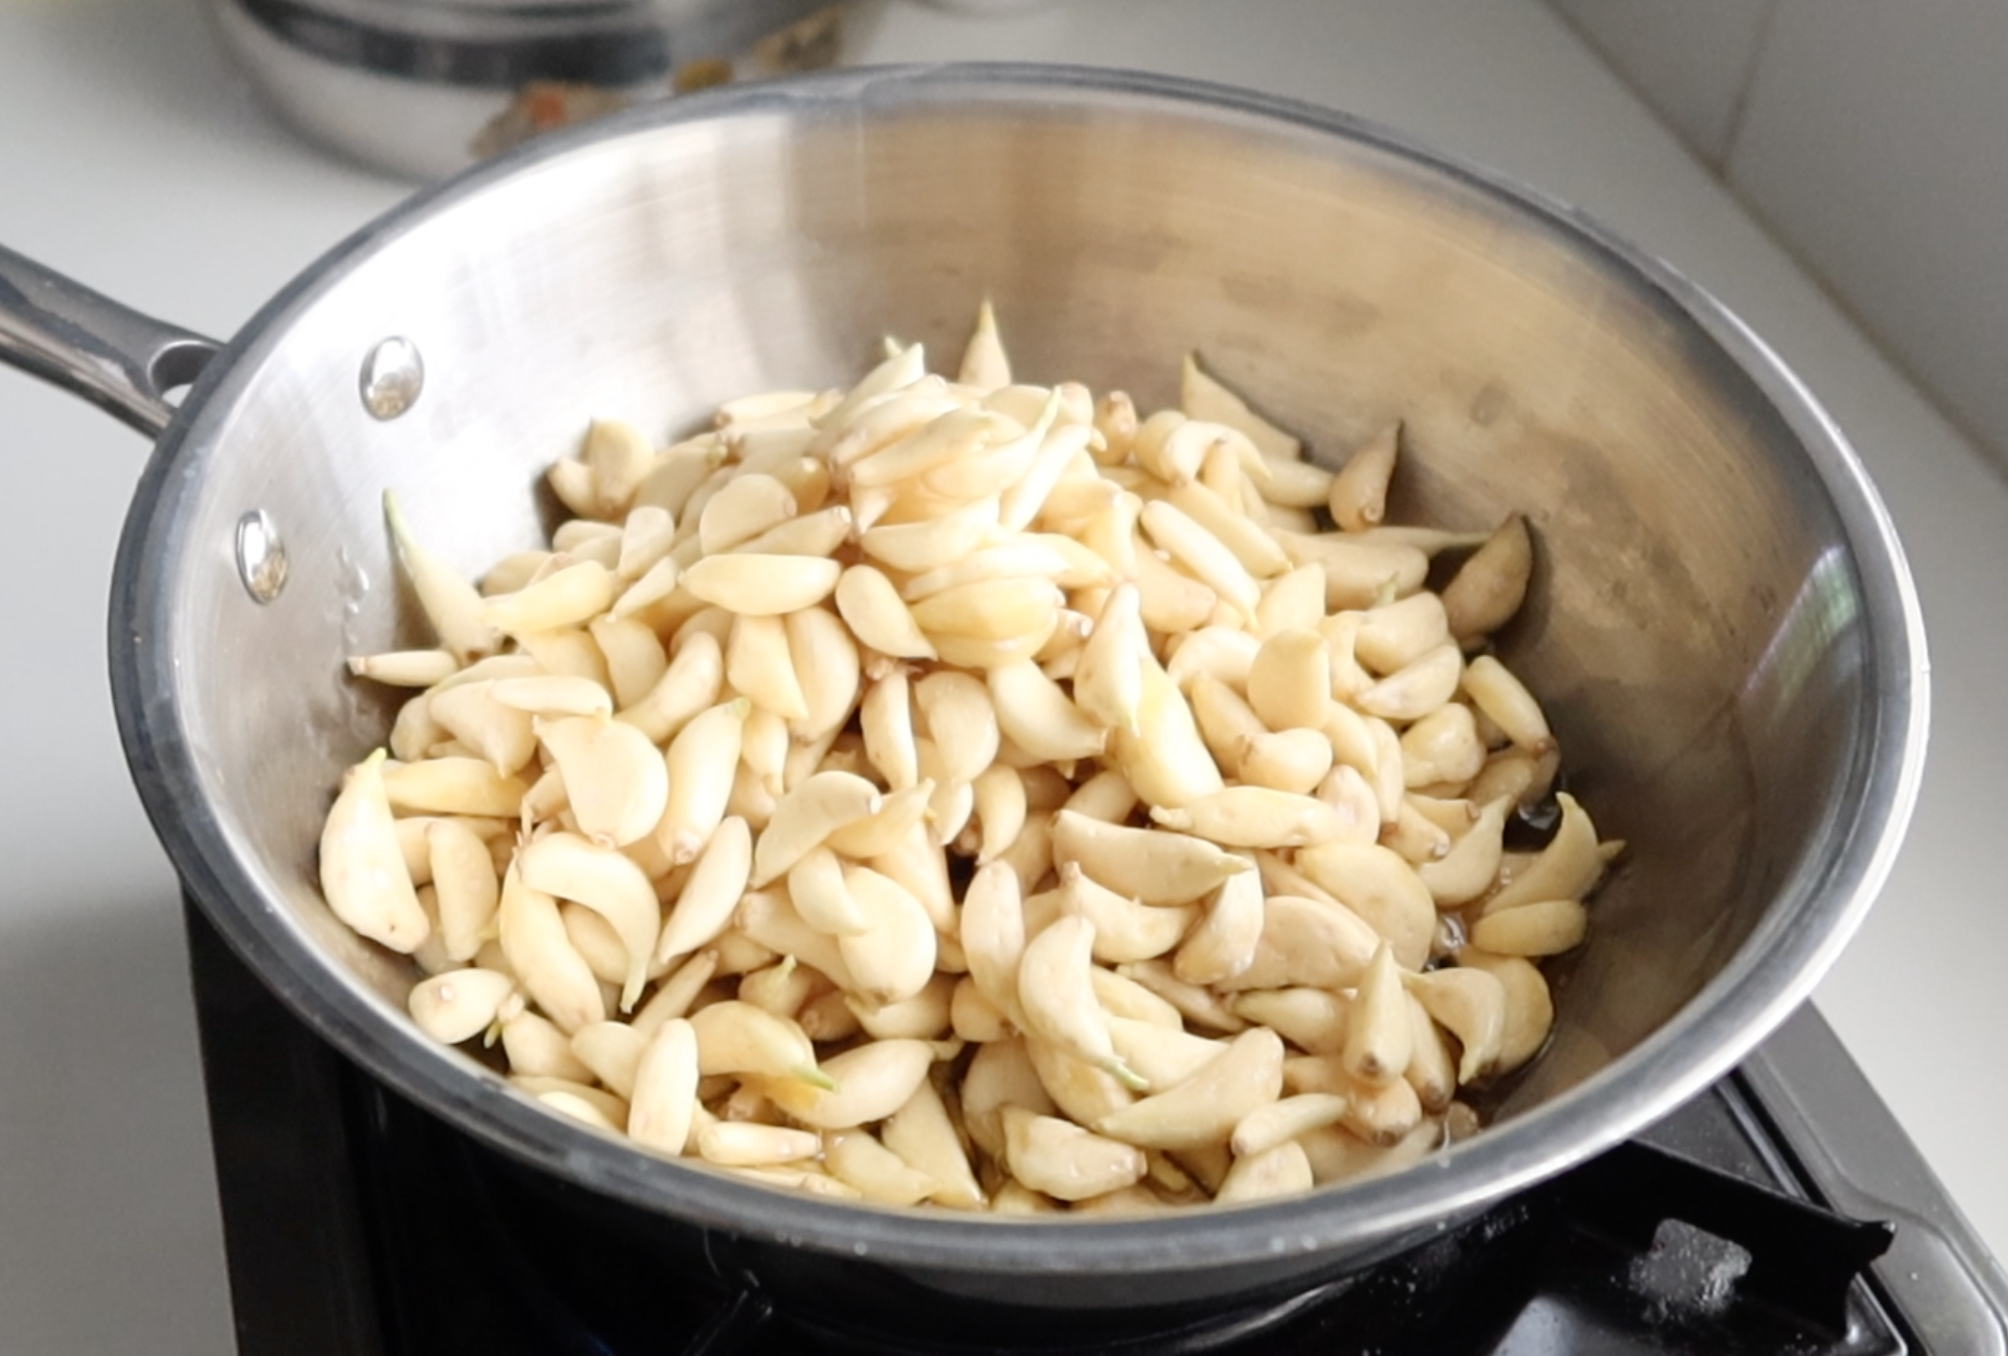
3)You can cover the pan to speed up the process. Keep mixing occasionally for even colouring.
4)The garlic has to turn golden brown.
5)Once the garlic is fried, strain and remove it to a bowl and set aside.
6)In the same oil, add in tempering ingredients and let them sizzle.

7)Add in dry red chillies
8)Add in asafoetida
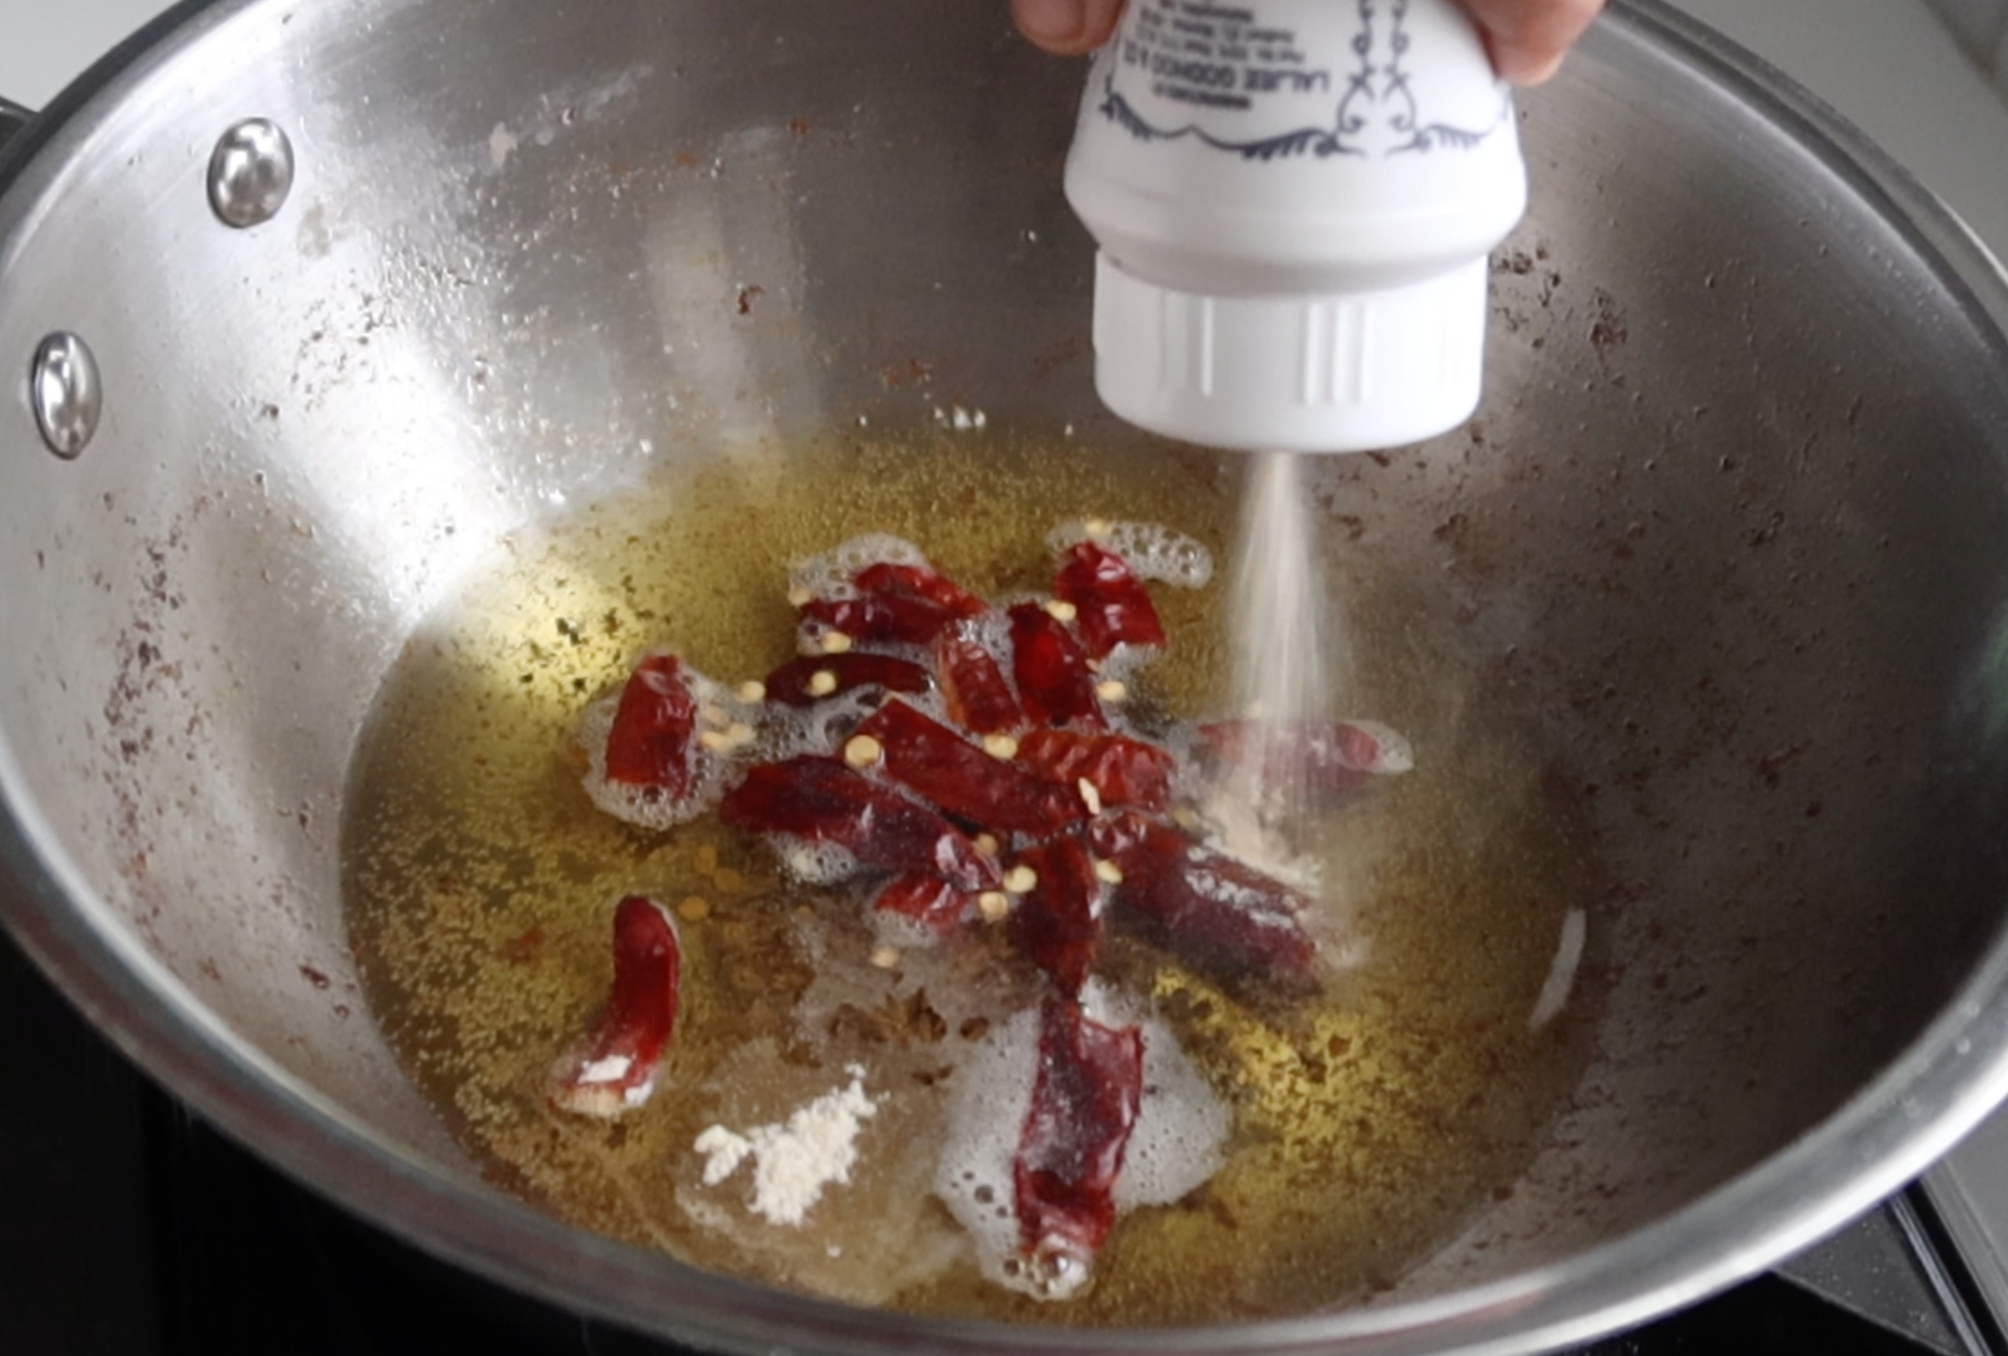
9)Add in turmeric powder
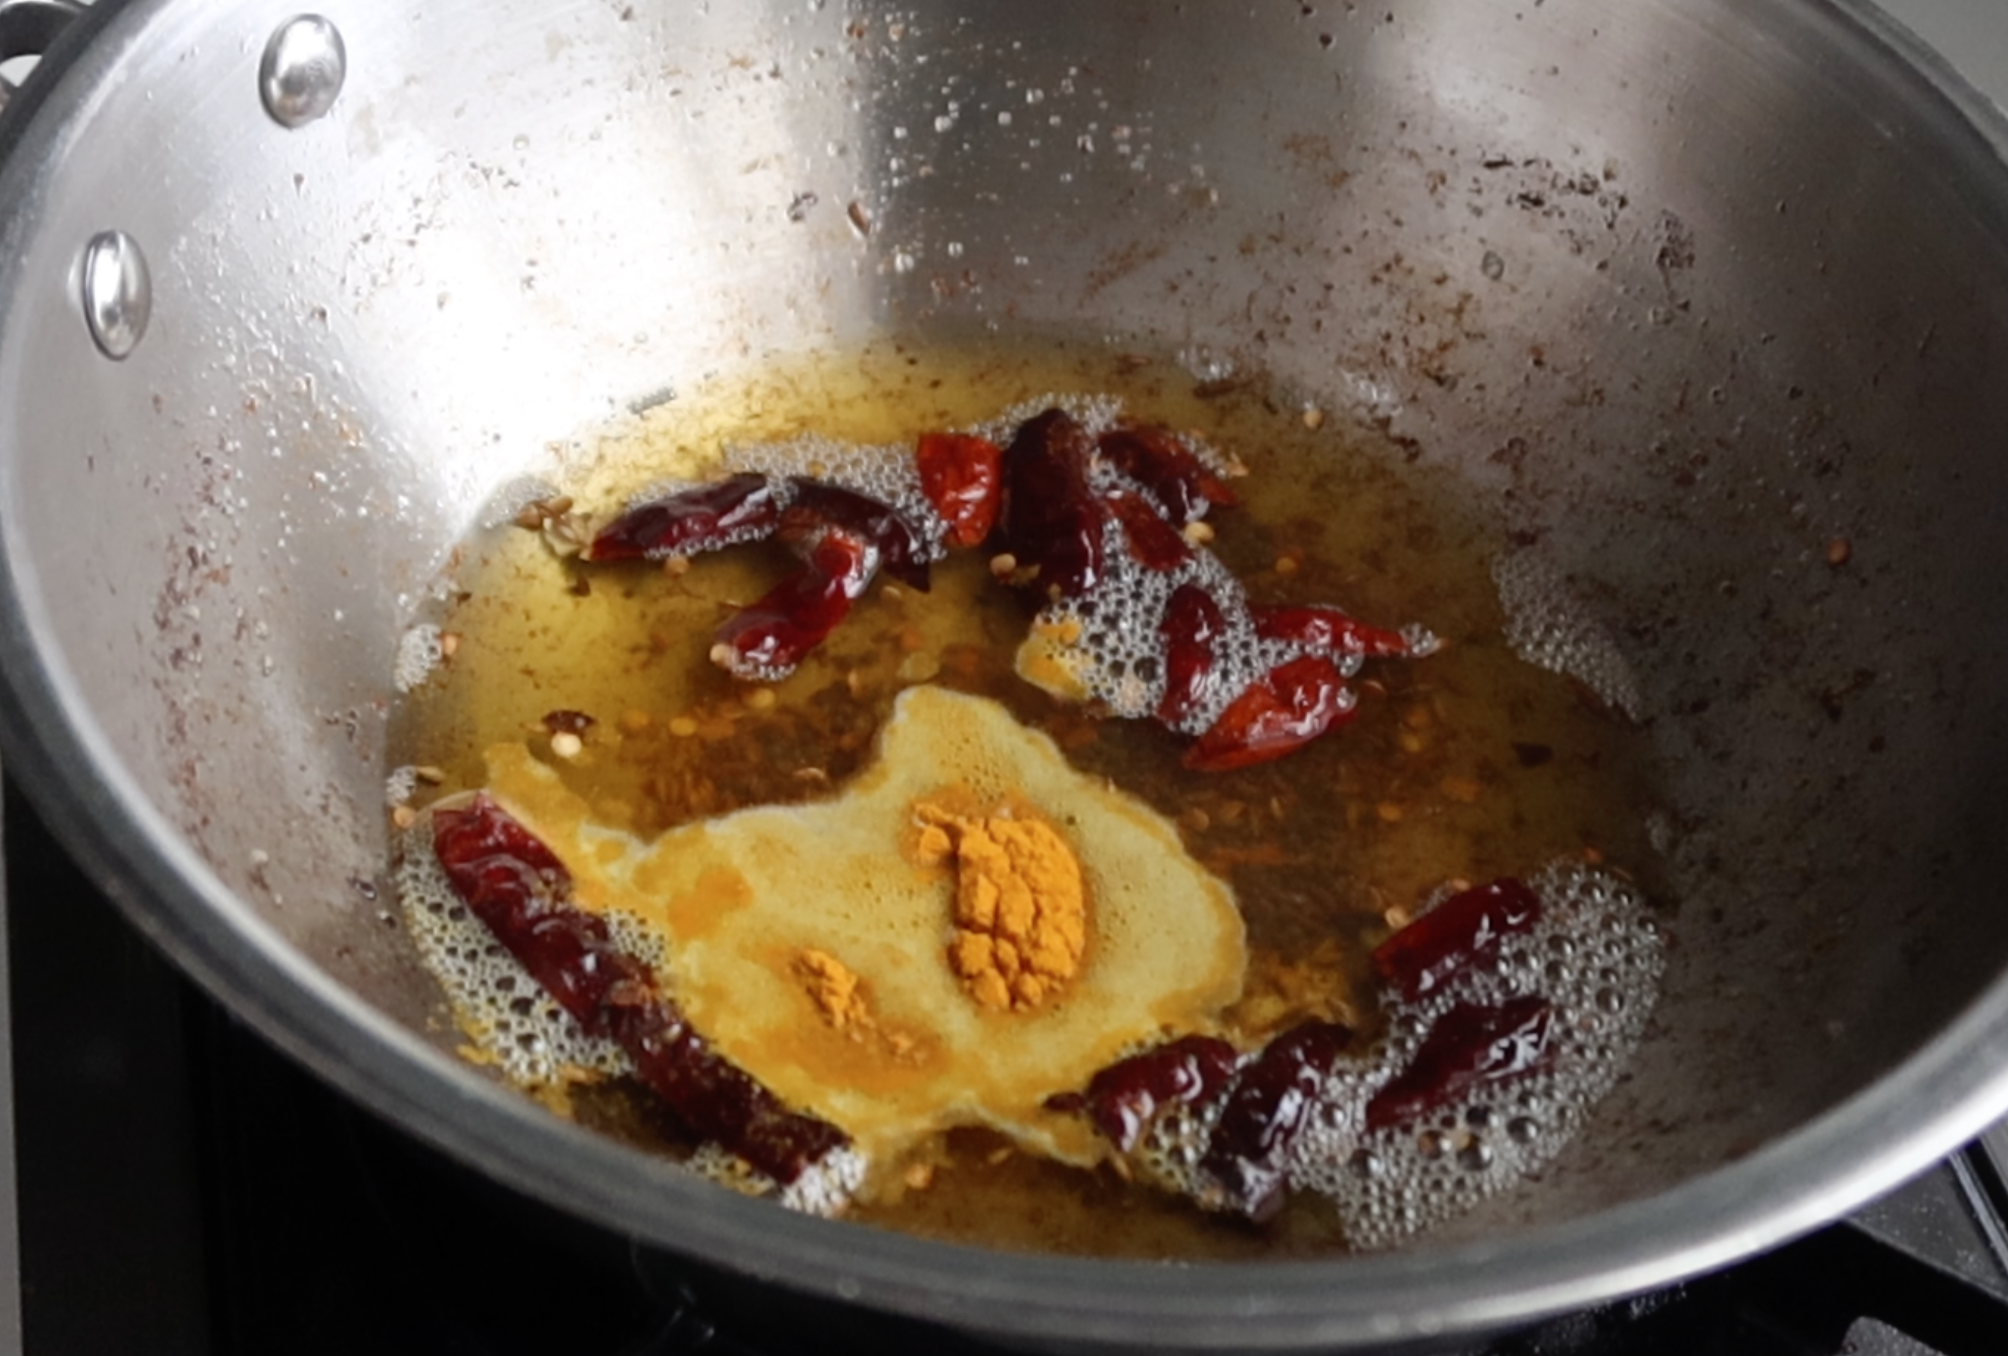
10)Add in chilli powder and mix well. Do this on low heat. Don't cook the spice powder over 10 seconds else it may burn.
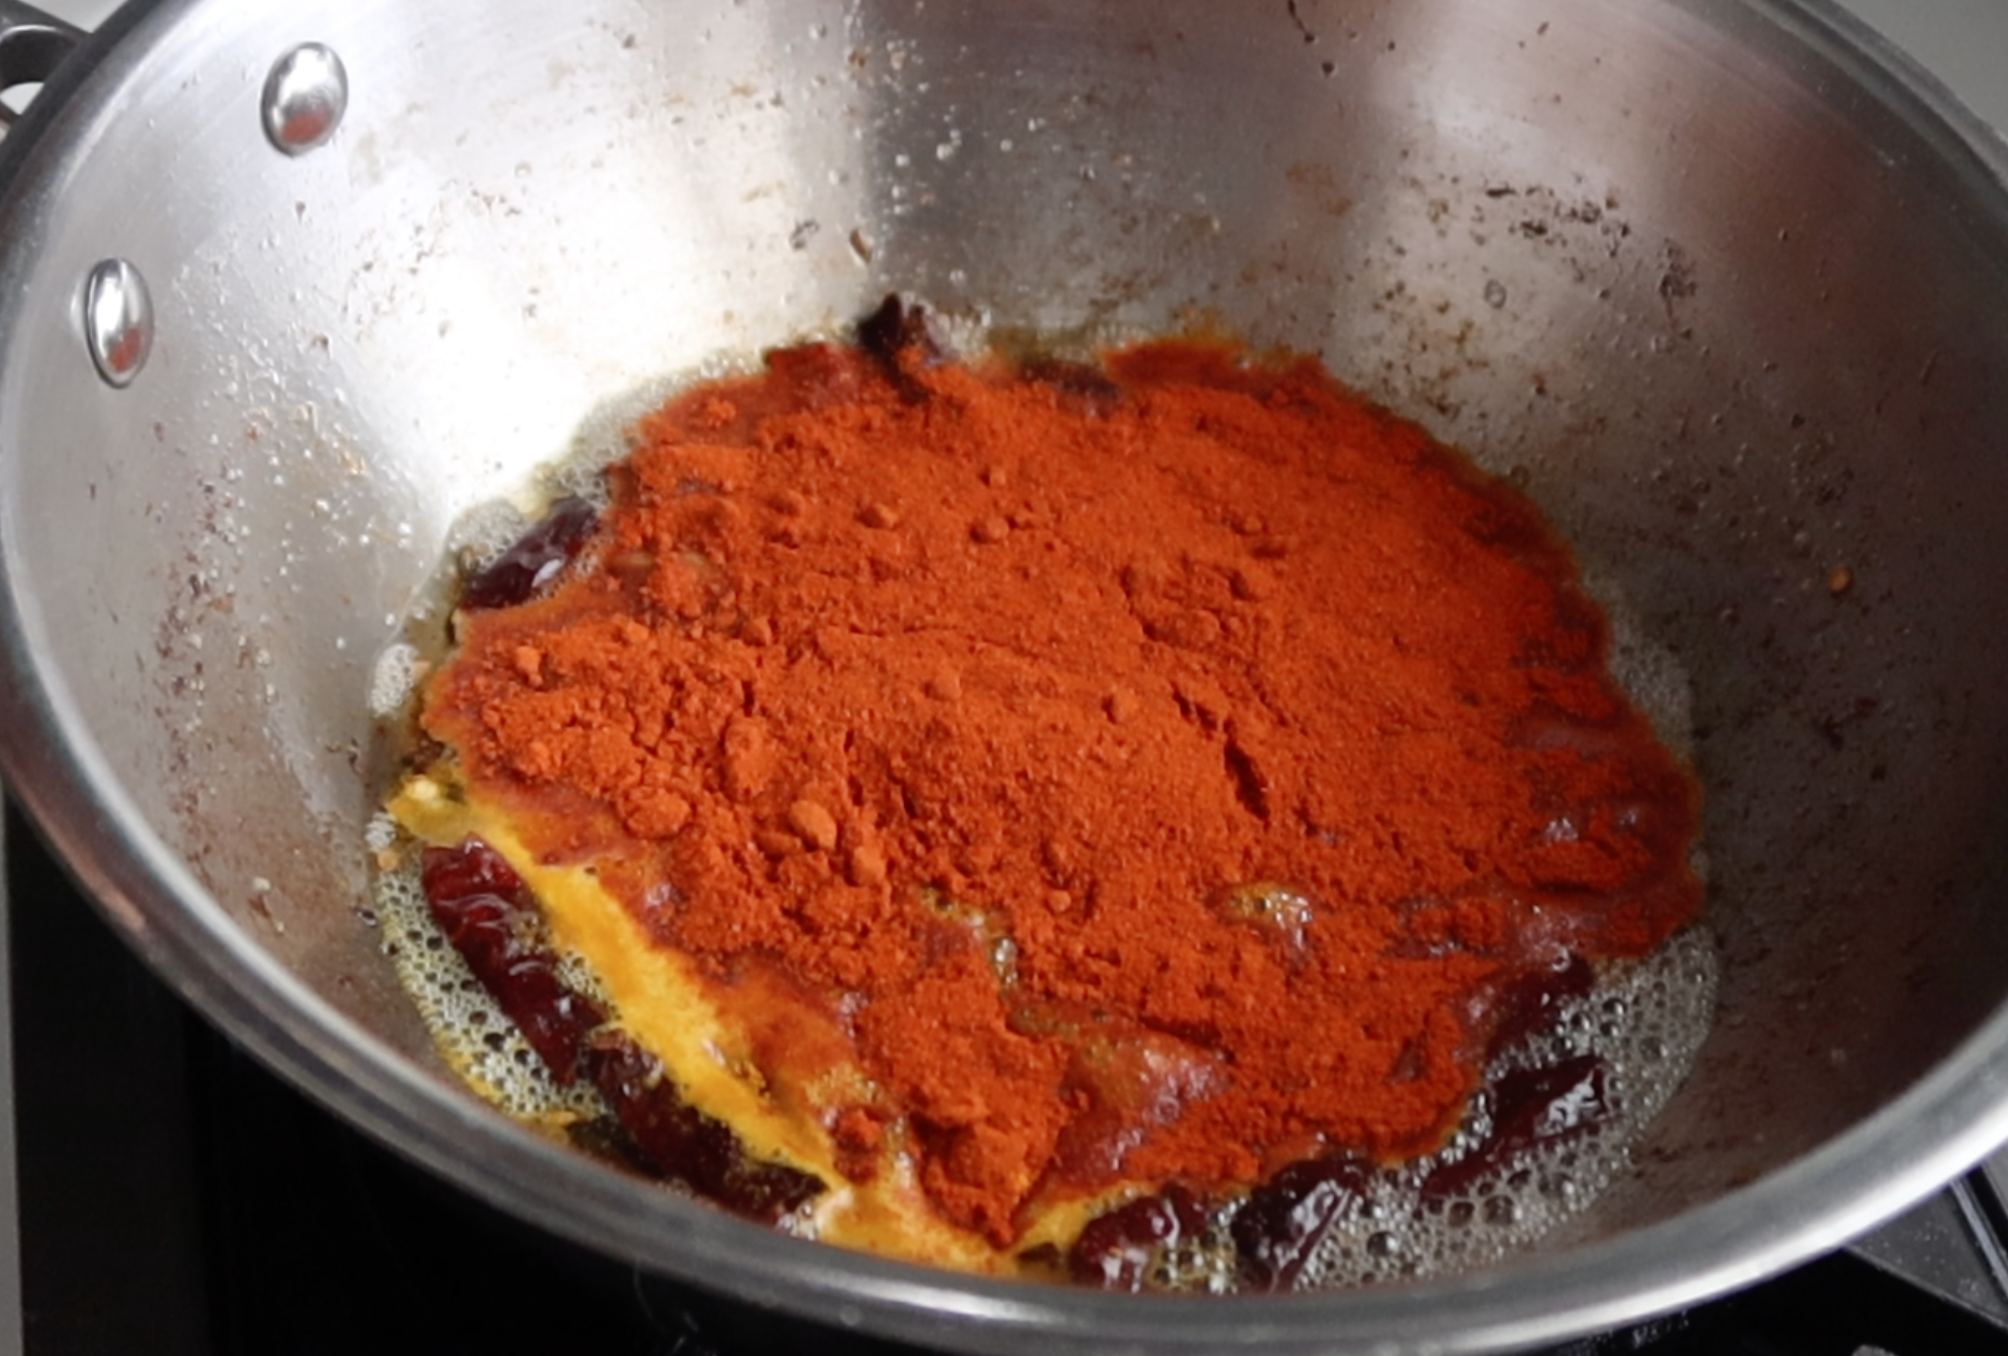
11)Mix gently.
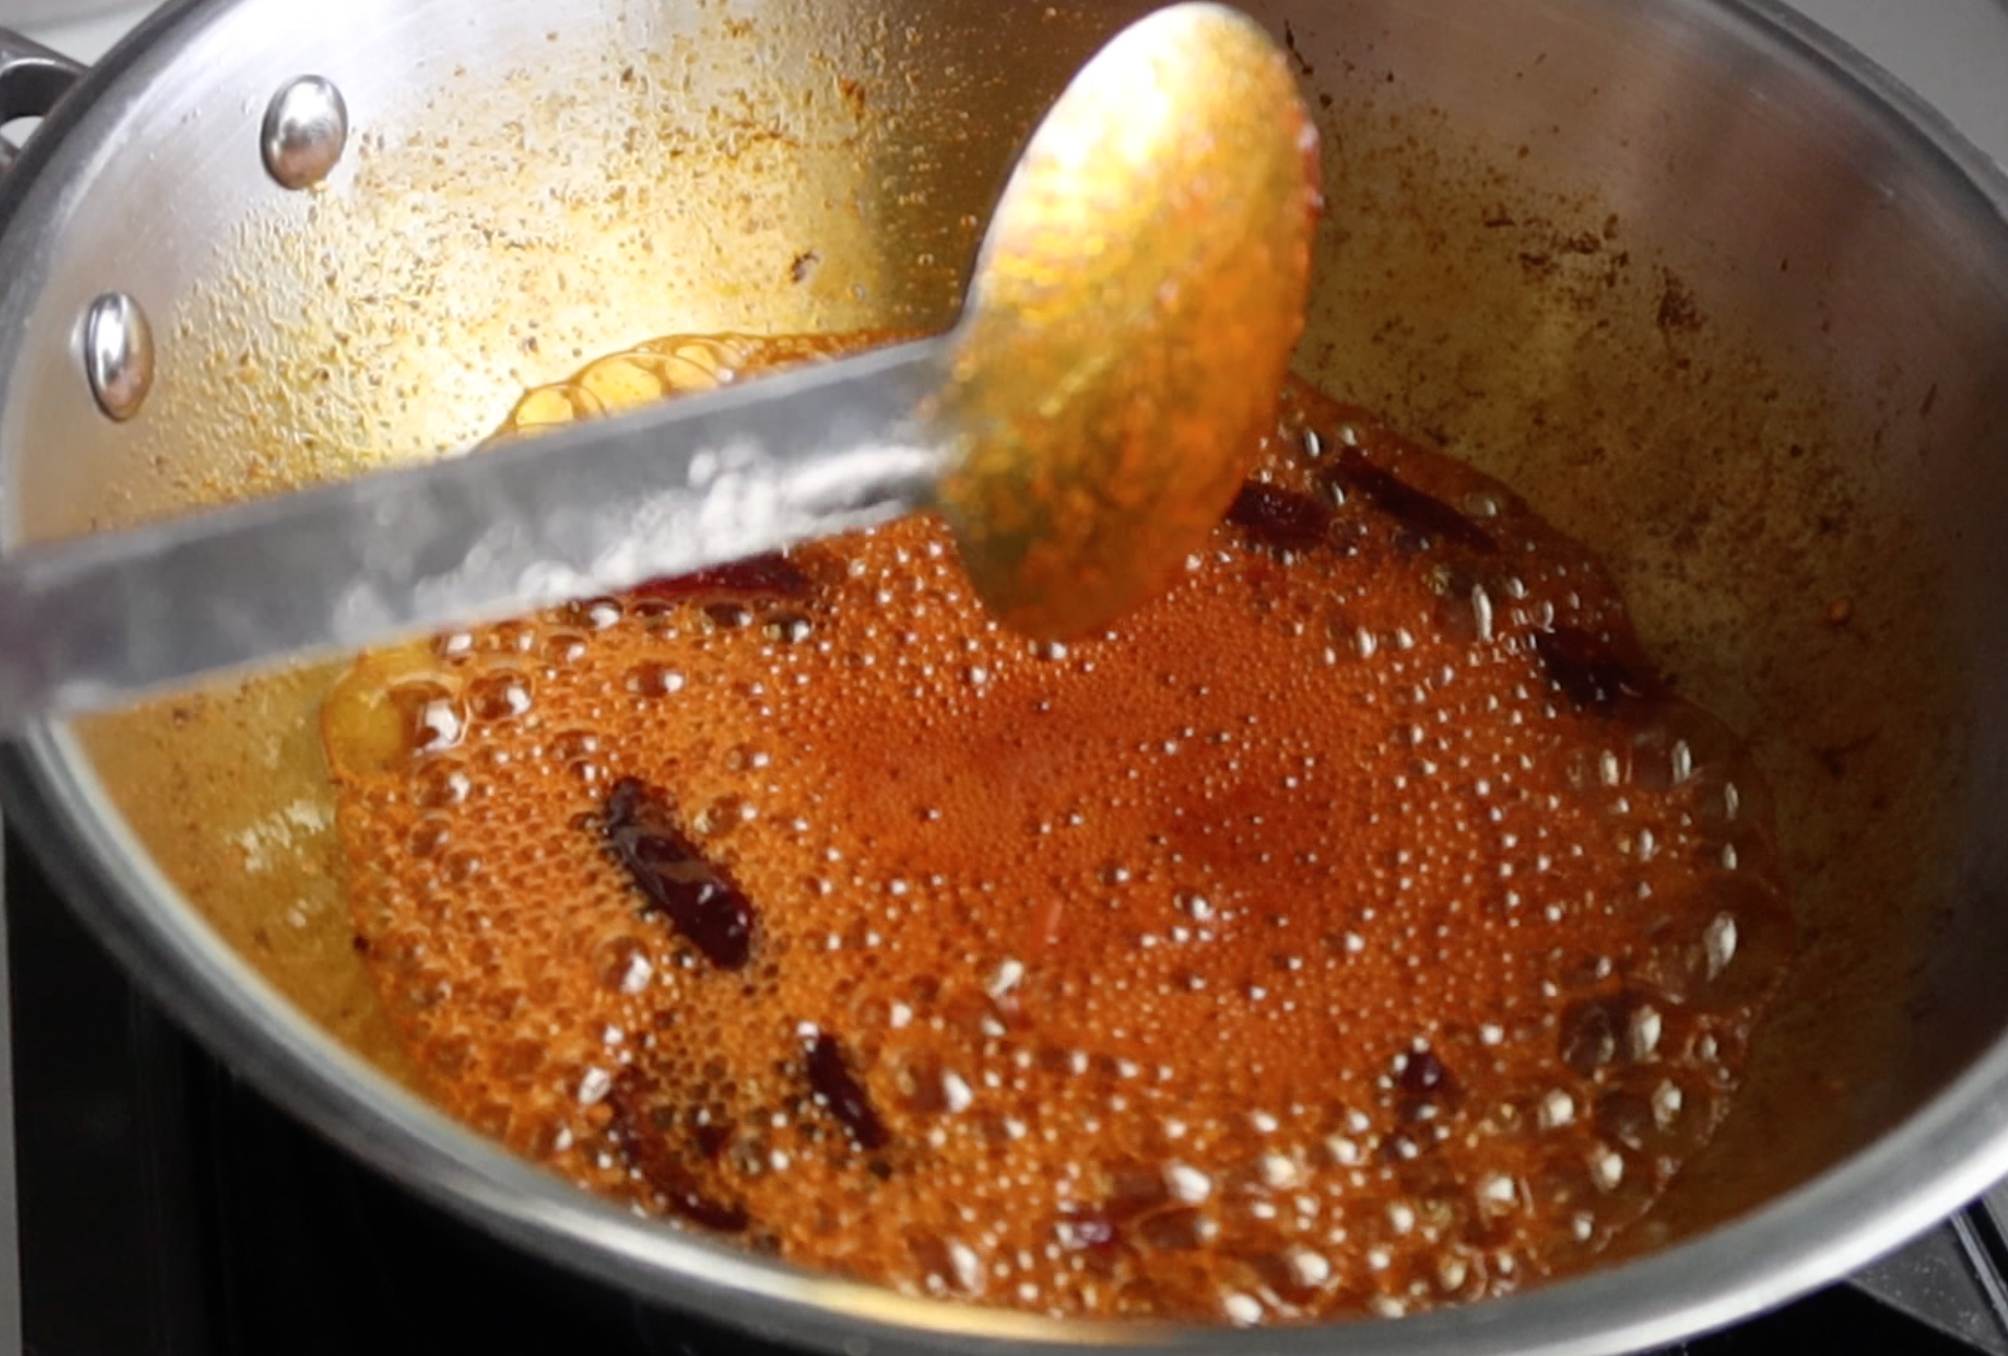
12)Add in the fried garlic and mix well.
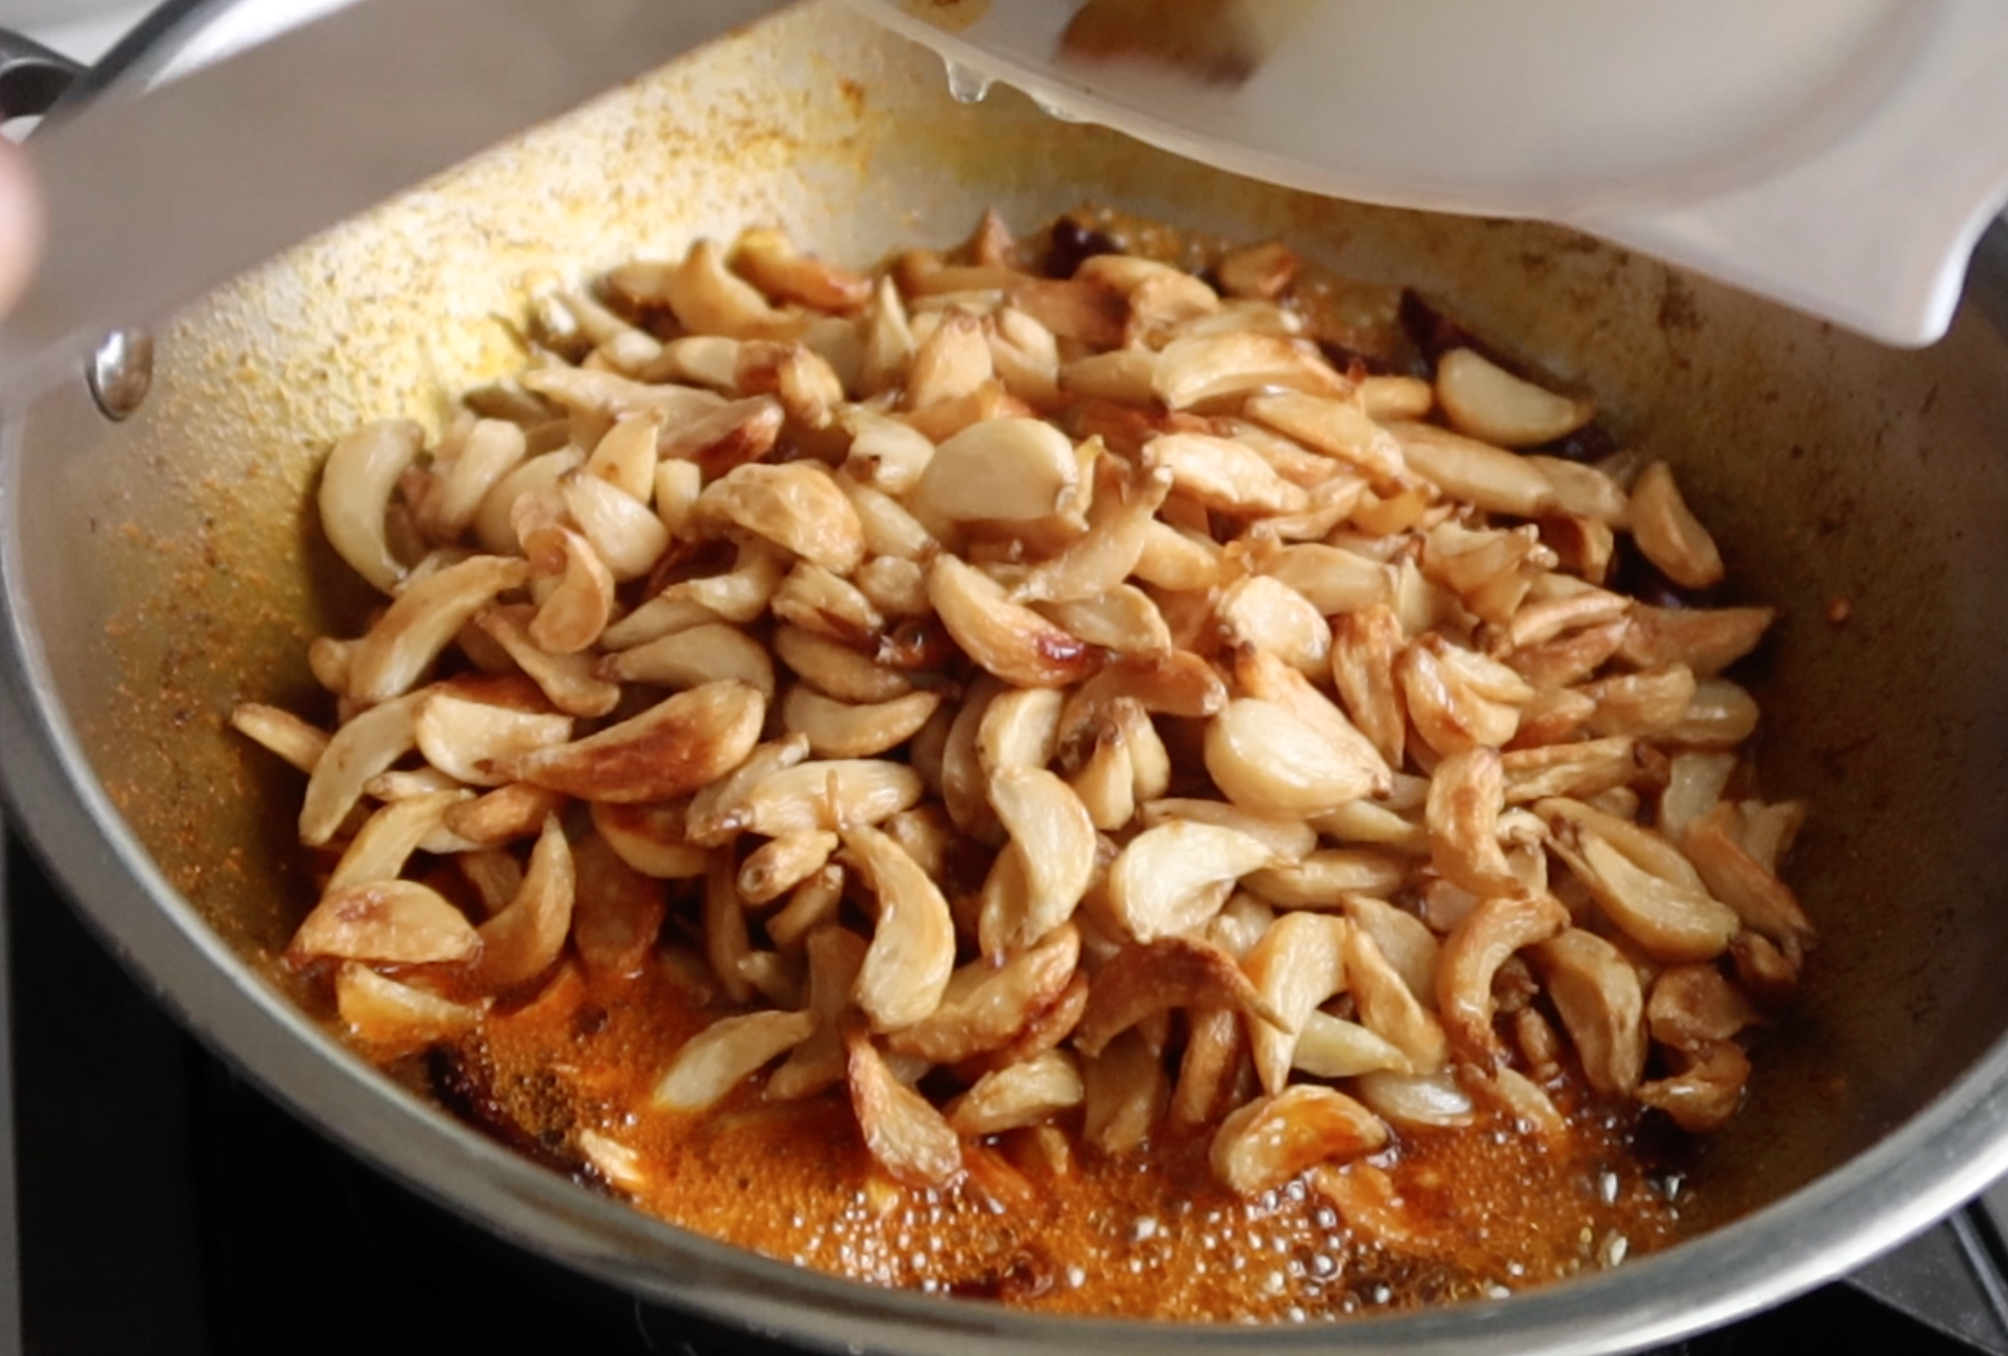
13)Mix well
14)Add in tamarind pulp
15)Add in salt.

16)Add in jaggery

17)Mix well.
18)Cover and cook on medium heat.
19)Done.

Tips & Tricks
- Use small variety of garlic for this pickle.
- Use gingelly oil in this pickle for best flavour.
- Cook the pickle on low heat till it gets thick and oil separates.
- The jar in which you are storing the garlic pickle has to be dry without any water which will extend the shelf life.
- Always use dry spoon when taking pickle out, no wet spoons or hands should be used.
Storage Suggestions
This pickle can be stored at room temp for 3 to 5 days. Store in fridge for 15 to 20 days.
Serving Suggestions
Garlic pickle can be served with rice, curd rice, paratha.


Mélange
Wow..what a flavour there Aarthi.I simply love garlic.Looks awesome !
Mugdha
Colorful and yummy pickle..:)
Priya
Slurppppp!!mouthwatering here..
Kalpana Sareesh
i always love garlic pickle but never tried it at home. Am left with half bottle of pickle once its over will try it at home.. Good one!!
Food Glorious Food!
I was just talking about this yesterday and wonder how to prepare it... and here you are giving me the answer!! Thanks dear!
Ida,Japan
Garlic? how the taste?...of coz yummy right for garlic lover
Gupanla (Mis Deliciosas Comiditas)
I love garlic, too.....so I note this recipe..!!
Priti
This is tongue tickling ...looks so fab
StephenC
What a fascinating thing to make. I don't know if I am ambitious enough to go through all the steps, and I don't have a lot of the ingredients. I'd love to have someone make this for me.
yummylittlecooks
hmm..another way to pickle garlic..interesting.
Aruna Manikandan
love homemade pickles ...
looks perfect dear...
love ur illustrated clicks 🙂
Anjali Bapna Shukla
I have never tried hands on pickles, but this one looks really worth trying...m hitting this for sure! 🙂
Hamaree Rasoi
Very tasty and tangy looking pickle.Deepa Hamaree Rasoi
Priya (Yallapantula) Mitharwal
wow, that sounds simple and super. Love the color of it. Even I like garlic too much 🙂
Mitinita
I love garlic and chili so this is right up my alley! Thanks for visiting my blog,I follow you too now.
Anita.
hi dear¡¡
thank you for visiting my blog. You have a wonderful blog and you have a fantastic recipes¡
I like all of them..
kisses from Spain,
Ani.
Mother's Secret Home Recipe's
THANKS FOR STOPPING BY....BECOZ OF WHICH I COULD FIND SUCH MIND BLOWING RECIPES IN YOUR SITE...LOVE THEM..WILL DEFINITELY TRY THE PICKLE RECIPE......
Suja Joel
should I make the same method for lemon pickle..
Aarthi
@Suja JoelYou can make the same for lemon pickle too, but done fry lemon as we fried garlic. Chop lemon into small pieces and add this masala.
Anonymous
Can i add fried onions? Because i need some thick masala as well
Aarthi
@Anonymousonion is not needed for this
Sunshine
Dear Aarthi,
Can I add vinegar instead of lemon juice?
Thanks in advance for your reply.
Aarthi
@Sunshineyes u can add vinegar
Anonymous
What is the total amount of oil for this recipe? 1/2 cup to fry the garlic, and then 1/2 cup for tempering/spices? So a total of one cup? Or 1/2 cup to fry the garlic, and 1 cup for tempering/spices for a total of 1 and 1/2 cups? Thanks! Looks delicious!
Aarthi
it is a total of 1 cup. u can use the 1/2 cup oil in which you fry the garlic and add another 1/2 cup to it and make seasoning